- 텍스트-이미지 생성
- 이미지-이미지 편집
- 다중 이미지 합성
- 생성된 이미지 저장
- Base URL:
https://api.cometapi.com - SDK 설치:
pip install google-genai(Python) 또는npm install @google/genai(Node.js)
설정
CometAPI의 base URL로 클라이언트를 초기화합니다:텍스트-이미지 생성
텍스트 프롬프트에서 이미지를 생성하고 파일로 저장합니다.candidates[0].content.parts에 있으며, 여기에는 텍스트 및/또는 이미지 파트가 포함될 수 있습니다:
이미지-투-이미지 생성
입력 이미지를 업로드하고 텍스트 프롬프트로 변환합니다.- Python SDK는
PIL.Image객체를 직접 받을 수 있으므로 수동으로 Base64 인코딩할 필요가 없습니다. - 원시 Base64 문자열을 전달할 때는
data:image/jpeg;base64,접두사를 포함하지 마세요.
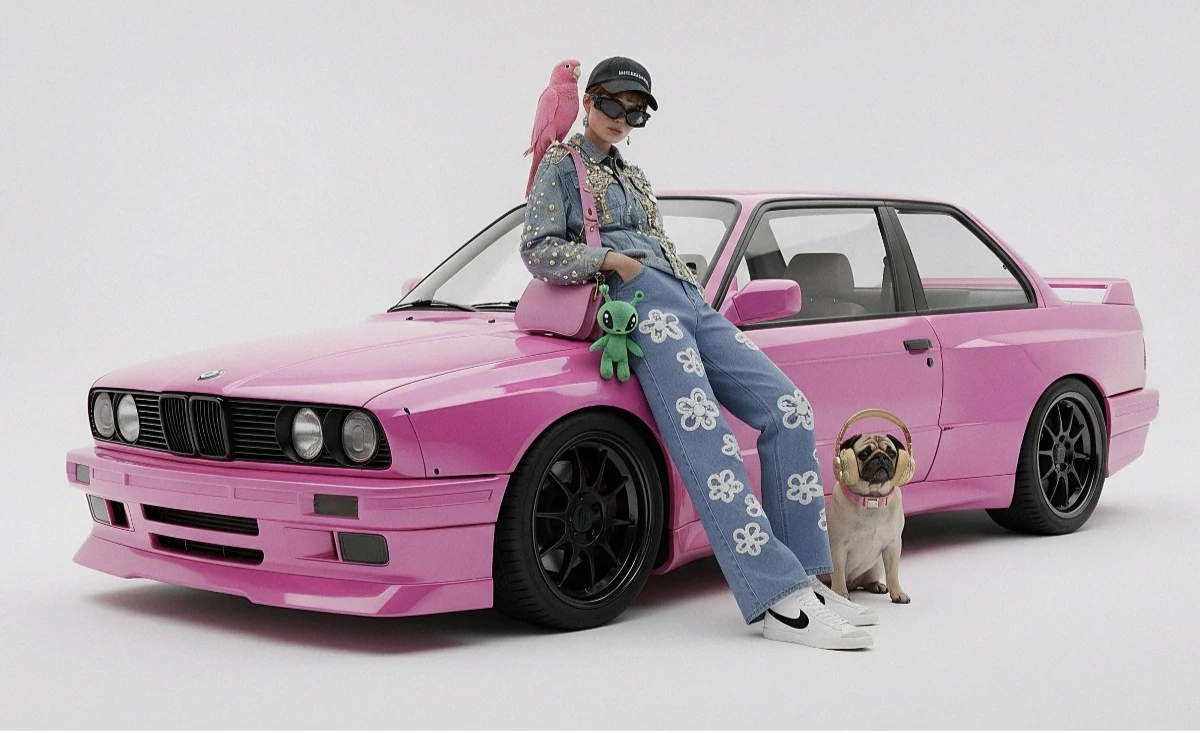
다중 이미지 합성
여러 입력 이미지로부터 새 이미지를 생성합니다. CometAPI는 두 가지 방식을 지원합니다:방법 1: 단일 콜라주 이미지
여러 소스 이미지를 하나의 콜라주로 결합한 다음, 원하는 출력 결과를 설명합니다.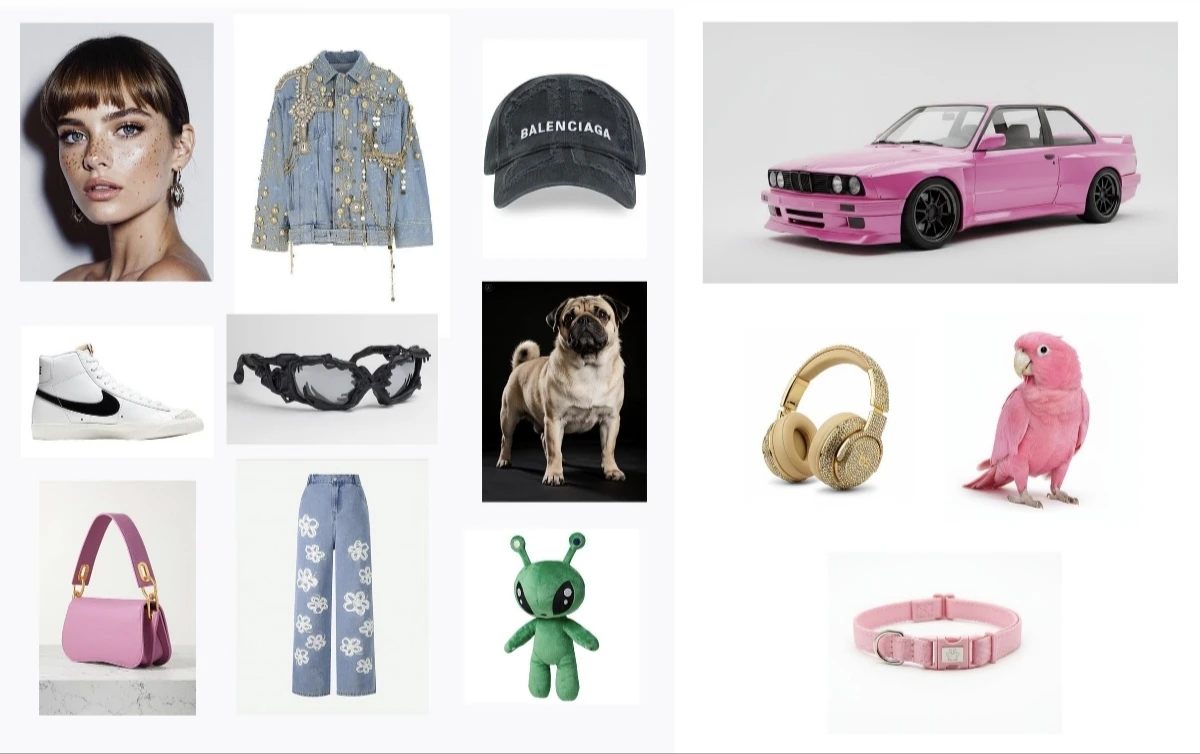
방법 2: 여러 개의 개별 이미지(최대 14개)
여러 이미지를 직접 전달합니다. Gemini 3 모델은 최대 14개의 참조 이미지(객체 + 캐릭터)를 지원합니다:
4K 이미지 생성
고해상도 출력을 위해aspect_ratio와 image_size를 포함한 image_config를 지정하세요:
다중 턴 이미지 편집(채팅)
SDK의 채팅 기능을 사용해 이미지를 반복적으로 다듬을 수 있습니다:팁
Prompt Optimization
Prompt Optimization
스타일 키워드(예: “cyberpunk, film grain, low contrast”), 종횡비, 피사체, 배경, 조명, 디테일 수준을 구체적으로 지정하세요.
Base64 Format
Base64 Format
raw HTTP를 사용할 때는
data:image/png;base64, 접두사를 포함하지 말고 raw Base64 문자열만 사용하세요. Python SDK는 PIL.Image 객체를 통해 이를 자동으로 처리합니다.Force Image Output
Force Image Output
텍스트 없이 이미지 출력만 보장하려면
"responseModalities"를 ["IMAGE"]로만 설정하세요.