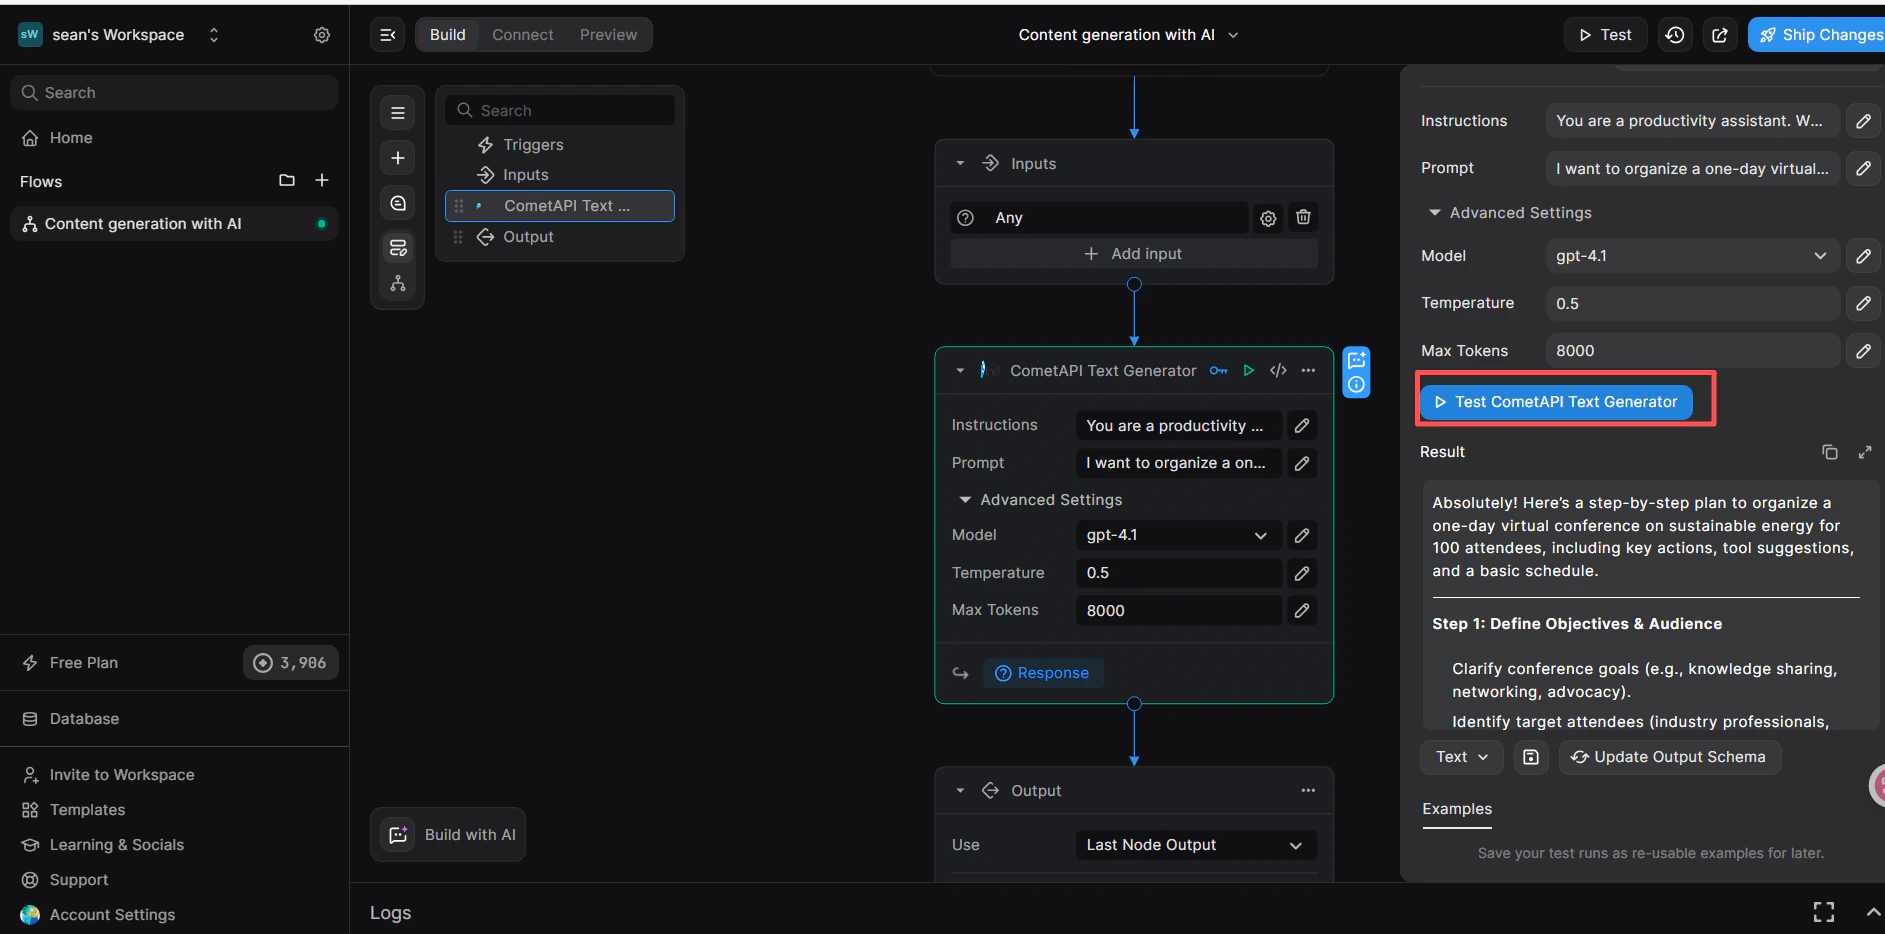
先決條件
1
取得你的 CometAPI API key
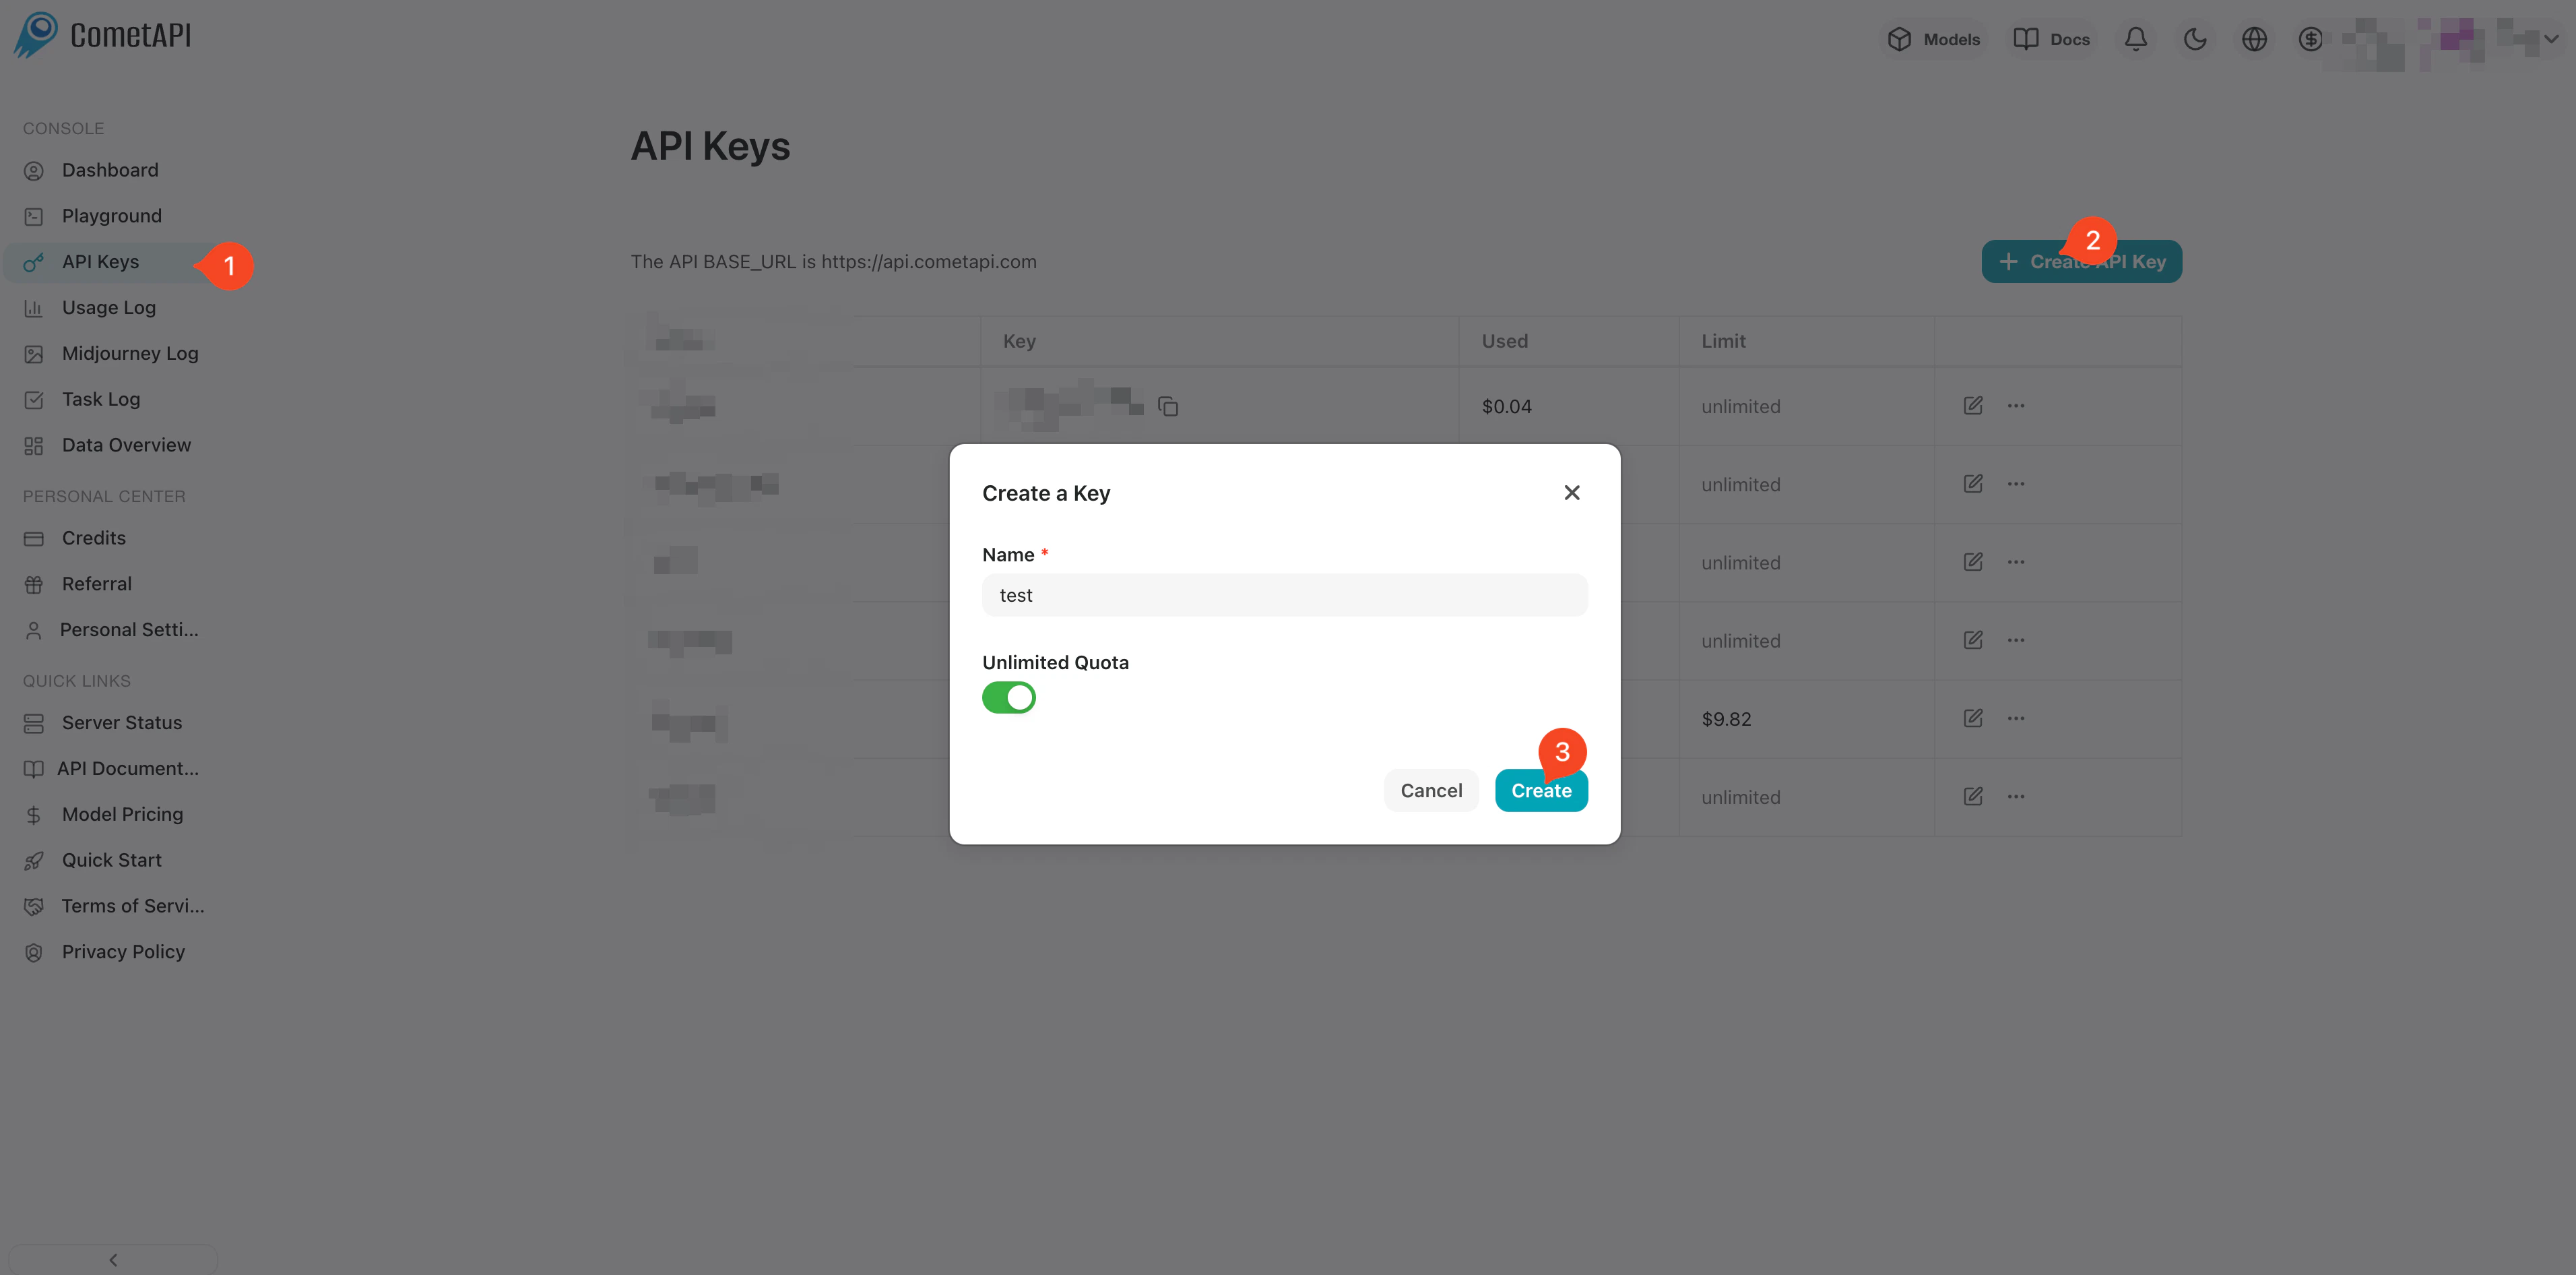
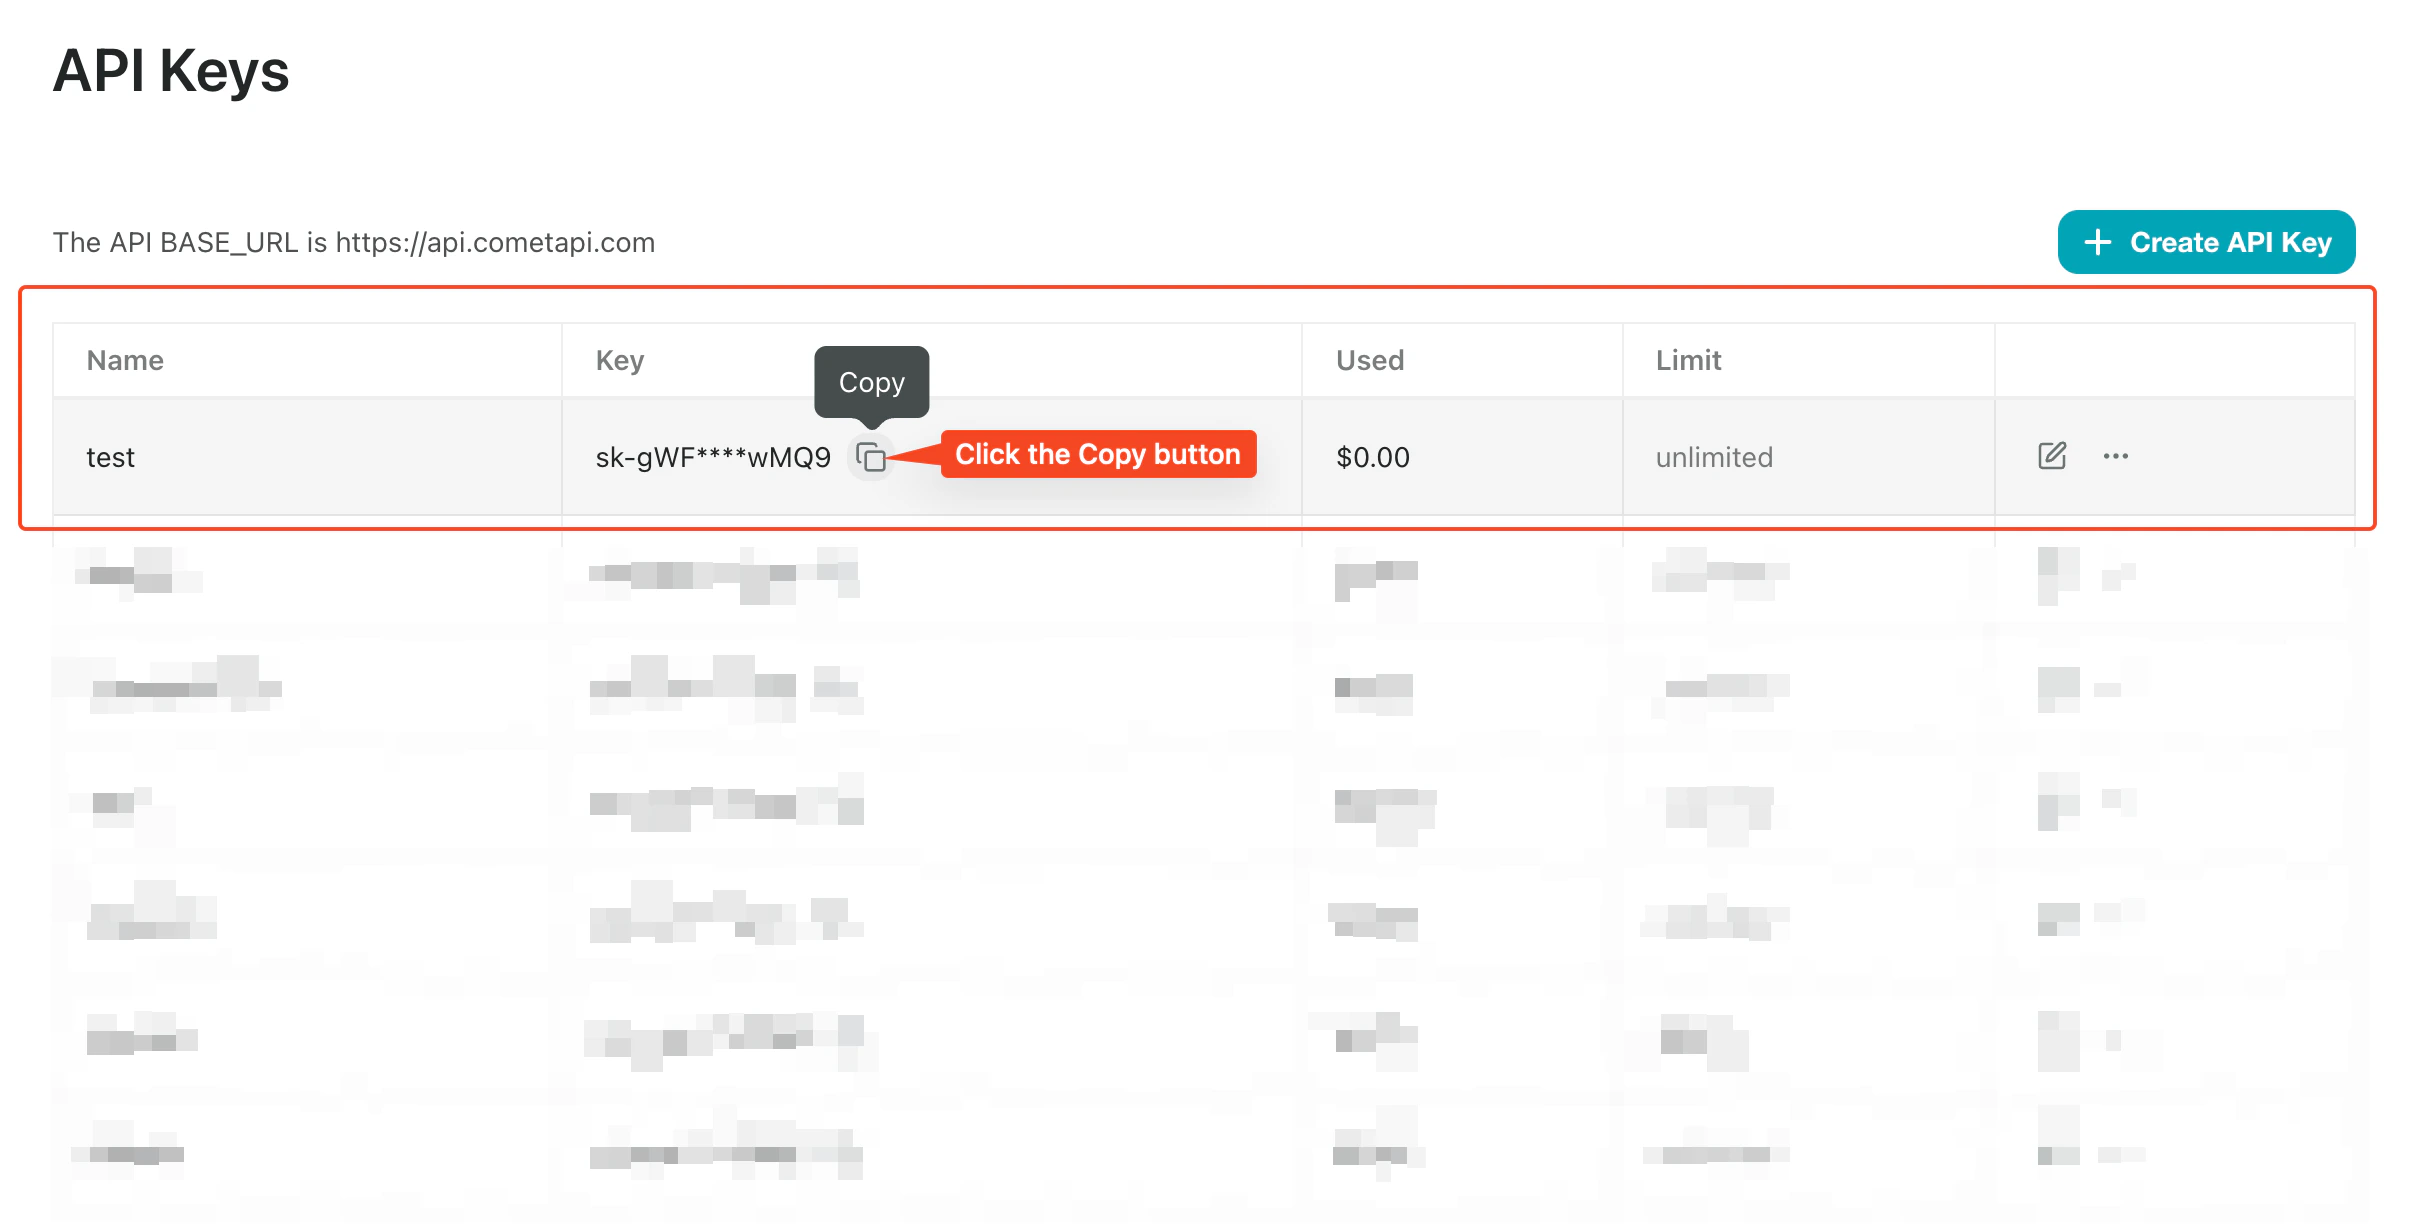
2
建立含有 REST API trigger 的工作流程
- 在 BuildShip 儀表板中,點擊 Create a new workflow → From Scratch。
- 在畫布上,點擊 Add Trigger 並選擇 REST API。這會為工作流程產生一個可呼叫的端點。
3
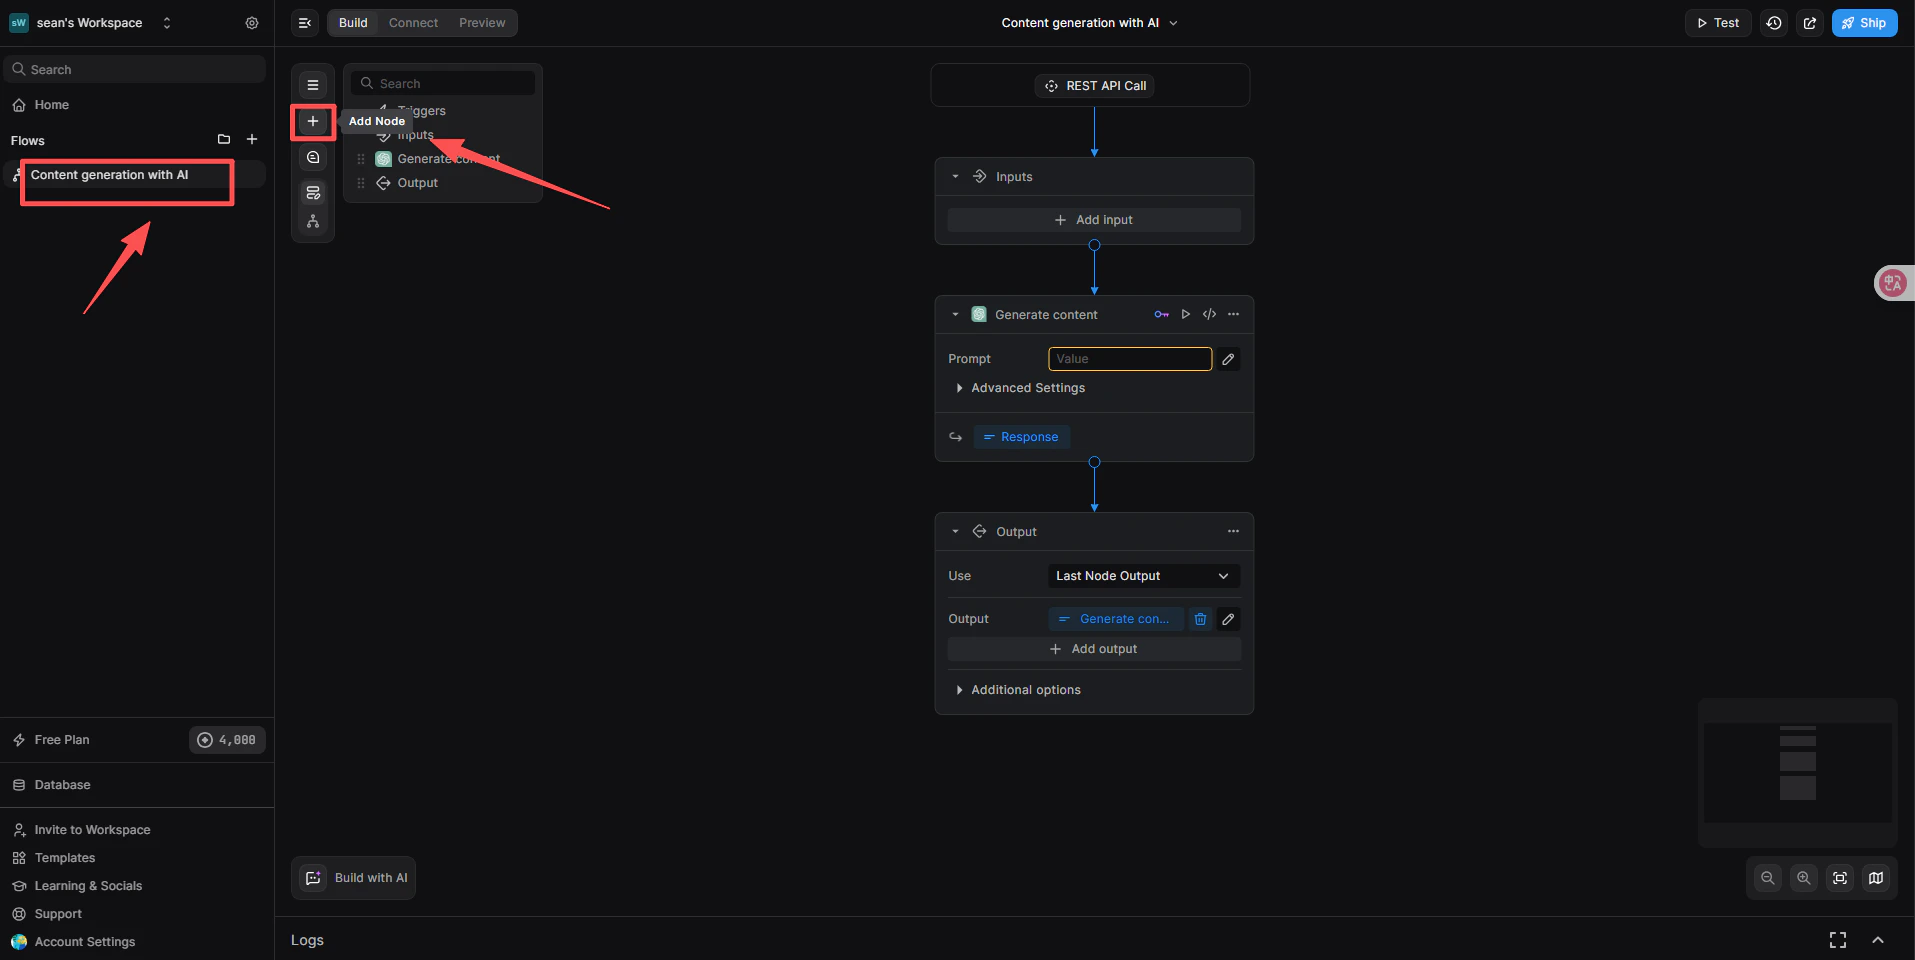
新增 CometAPI Text Generator 節點
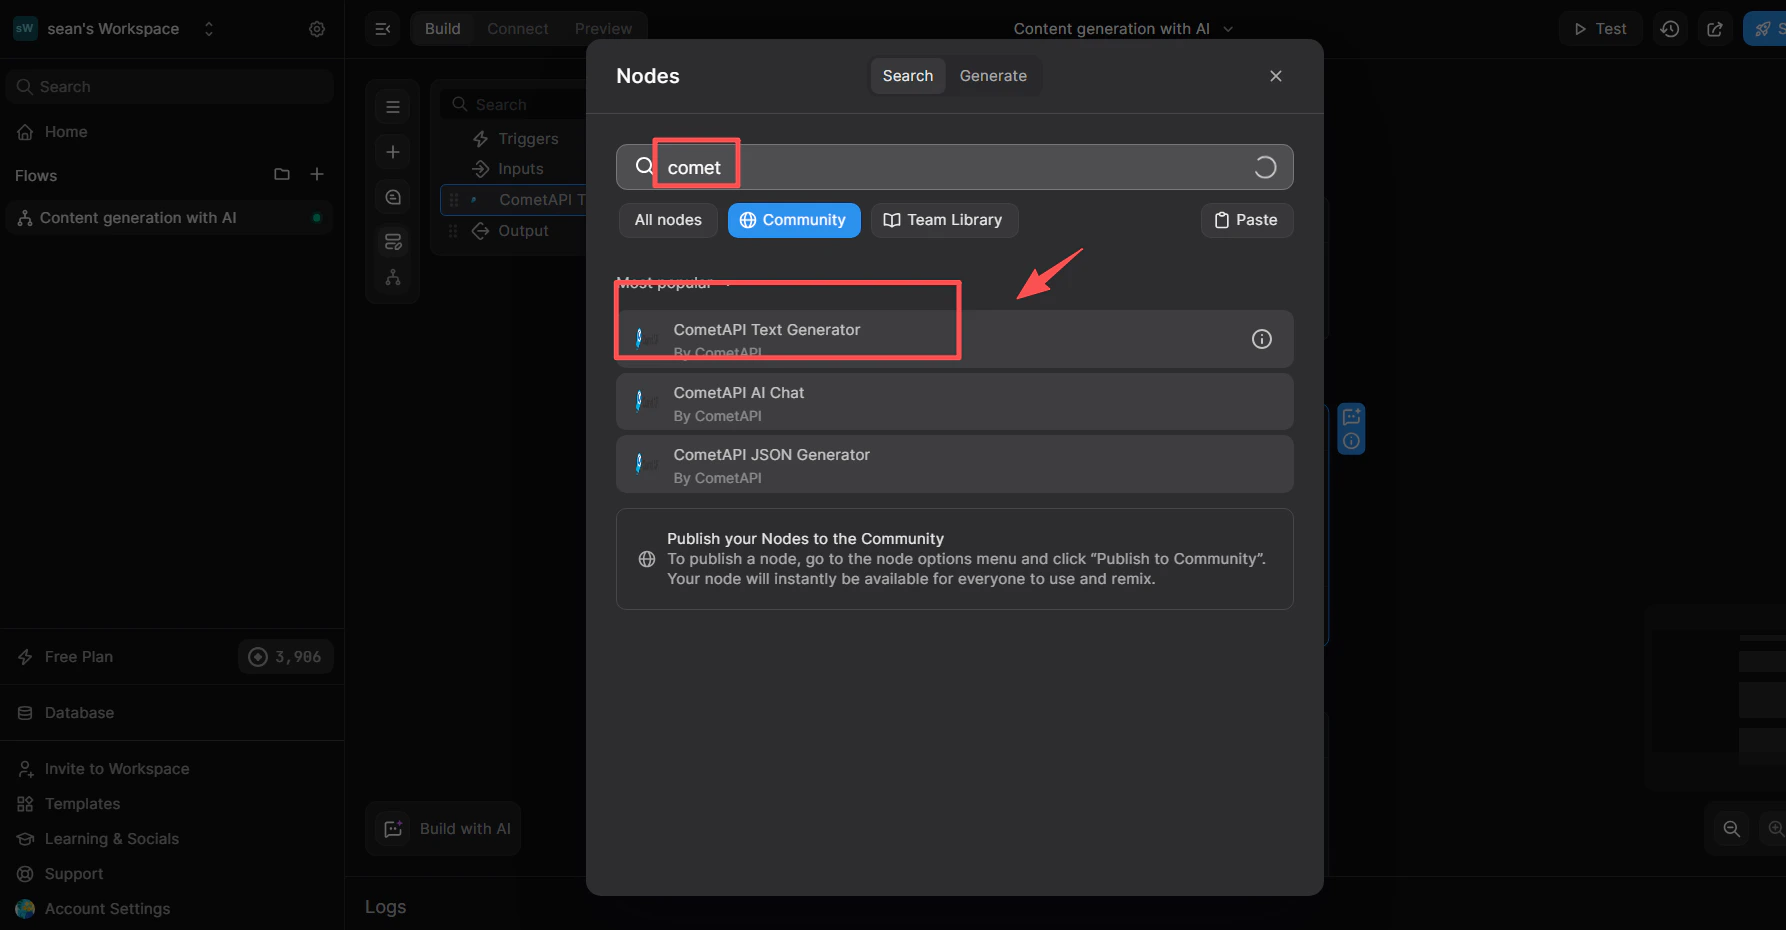
- 在 REST API trigger 下方,點擊 + Add a new step。
- 在節點庫搜尋框中,輸入
cometapi。 - 從 Community 清單中,選擇 CometAPI Text Generator。
4
連結 CometAPI 整合
此步驟會告訴節點要使用哪一個 key 管理系統。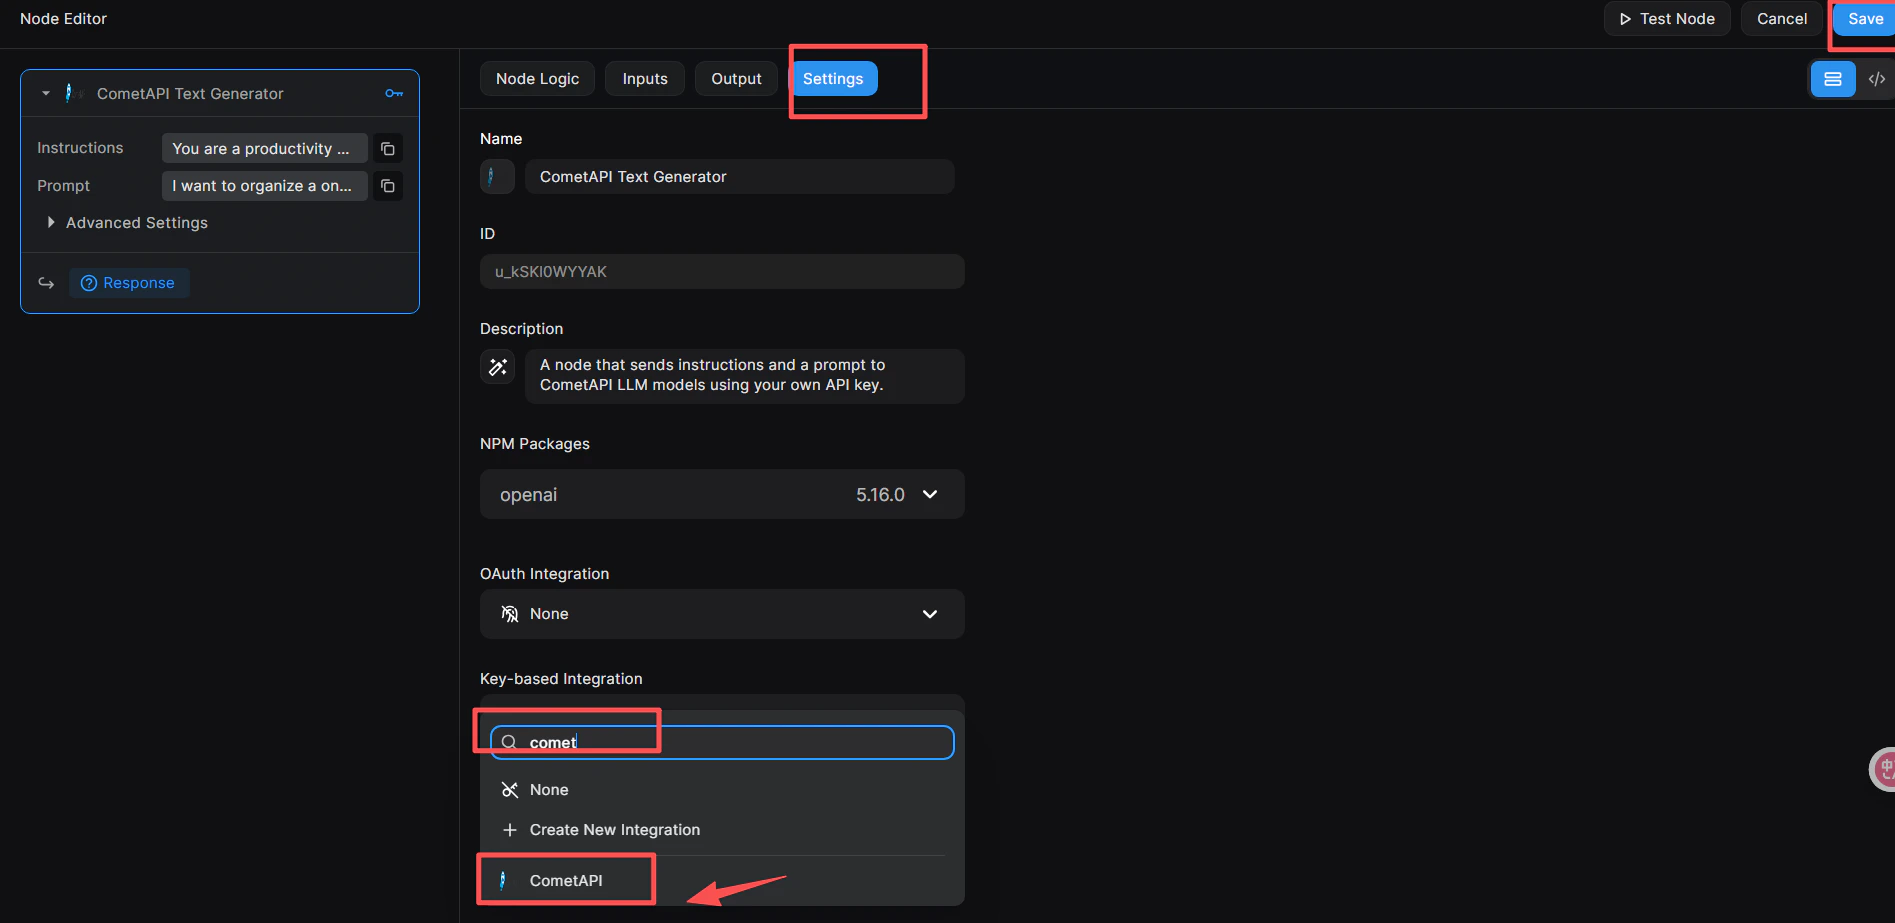
- 點擊節點,在右側開啟 Node Editor。
- 切換到 Settings 分頁。
- 在 Key-based Integration 中,開啟下拉選單並選擇 CometAPI。
- 點擊右上角藍色的 Save 按鈕。
5
將你的 API key 新增到節點
- 在 Node Editor 中,切換到 Inputs 分頁(或直接點擊節點)。
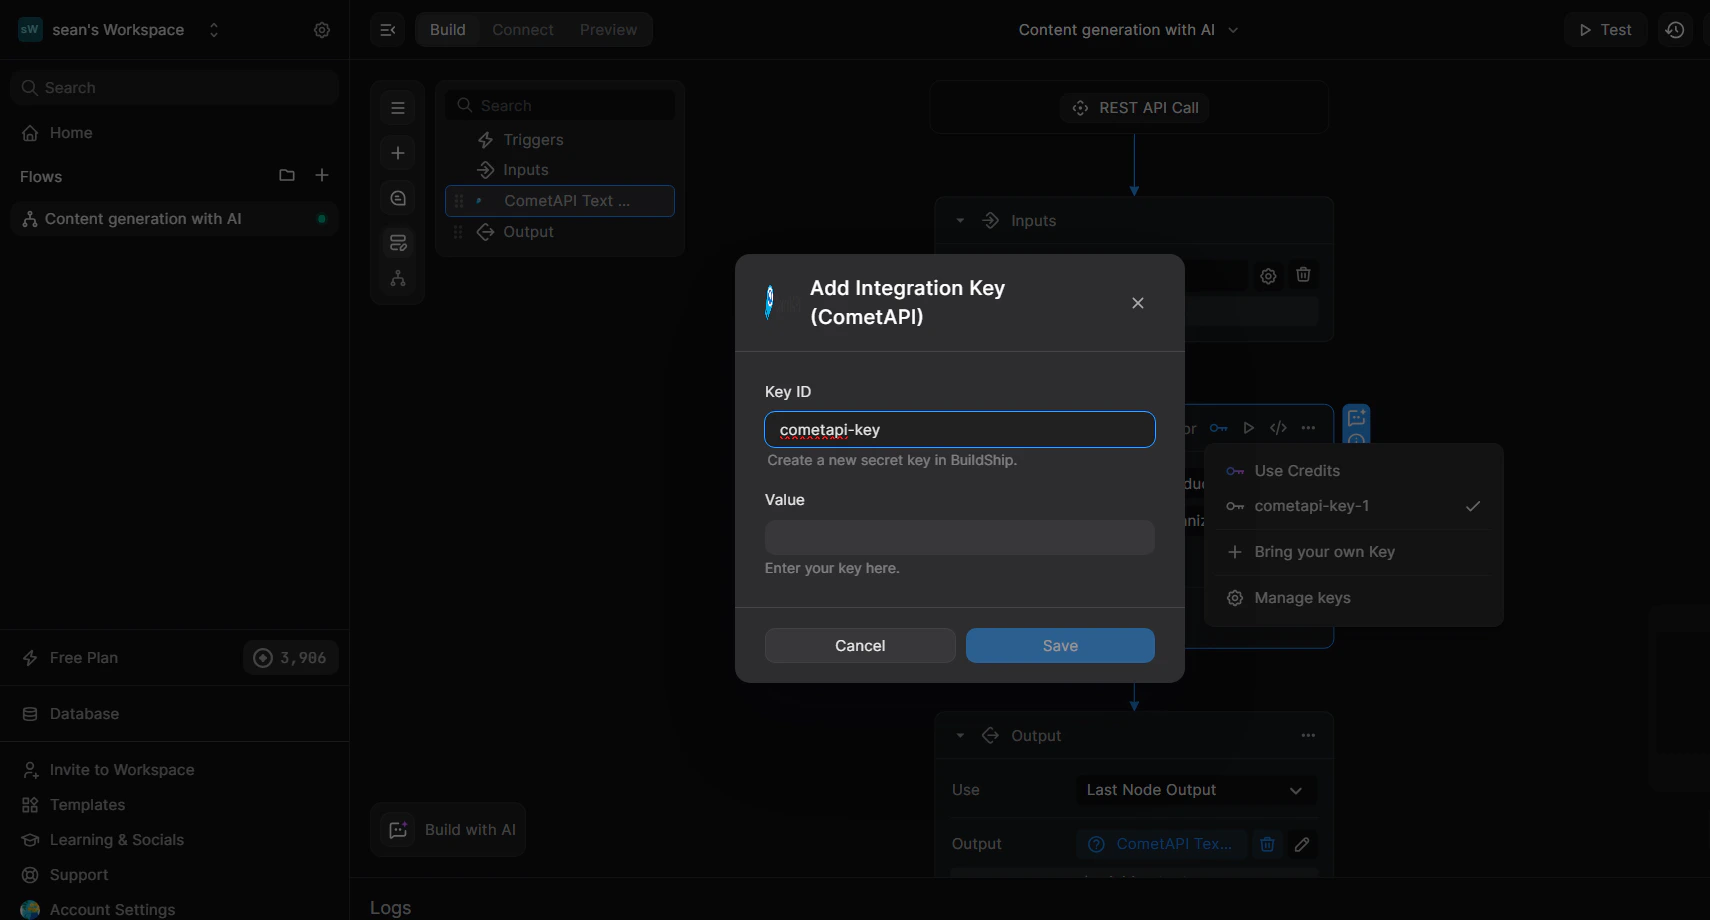
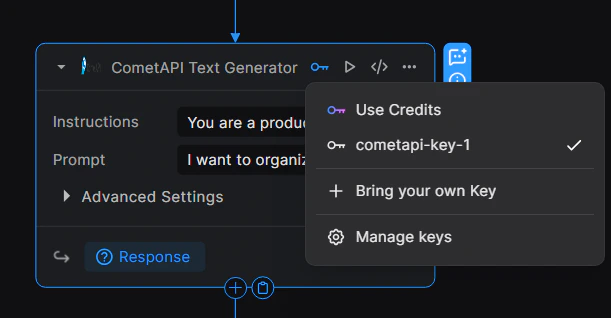
- 點擊節點右上角的 🔑 key 圖示以開啟 key 下拉選單。
- 選擇 + Bring your own Key。
- 輸入 Key ID(例如
cometapi-key-1),並將你的 CometAPI API key 貼到 Value。 - 點擊 Save。
6
設定輸入參數
在節點的 Inputs 分頁中: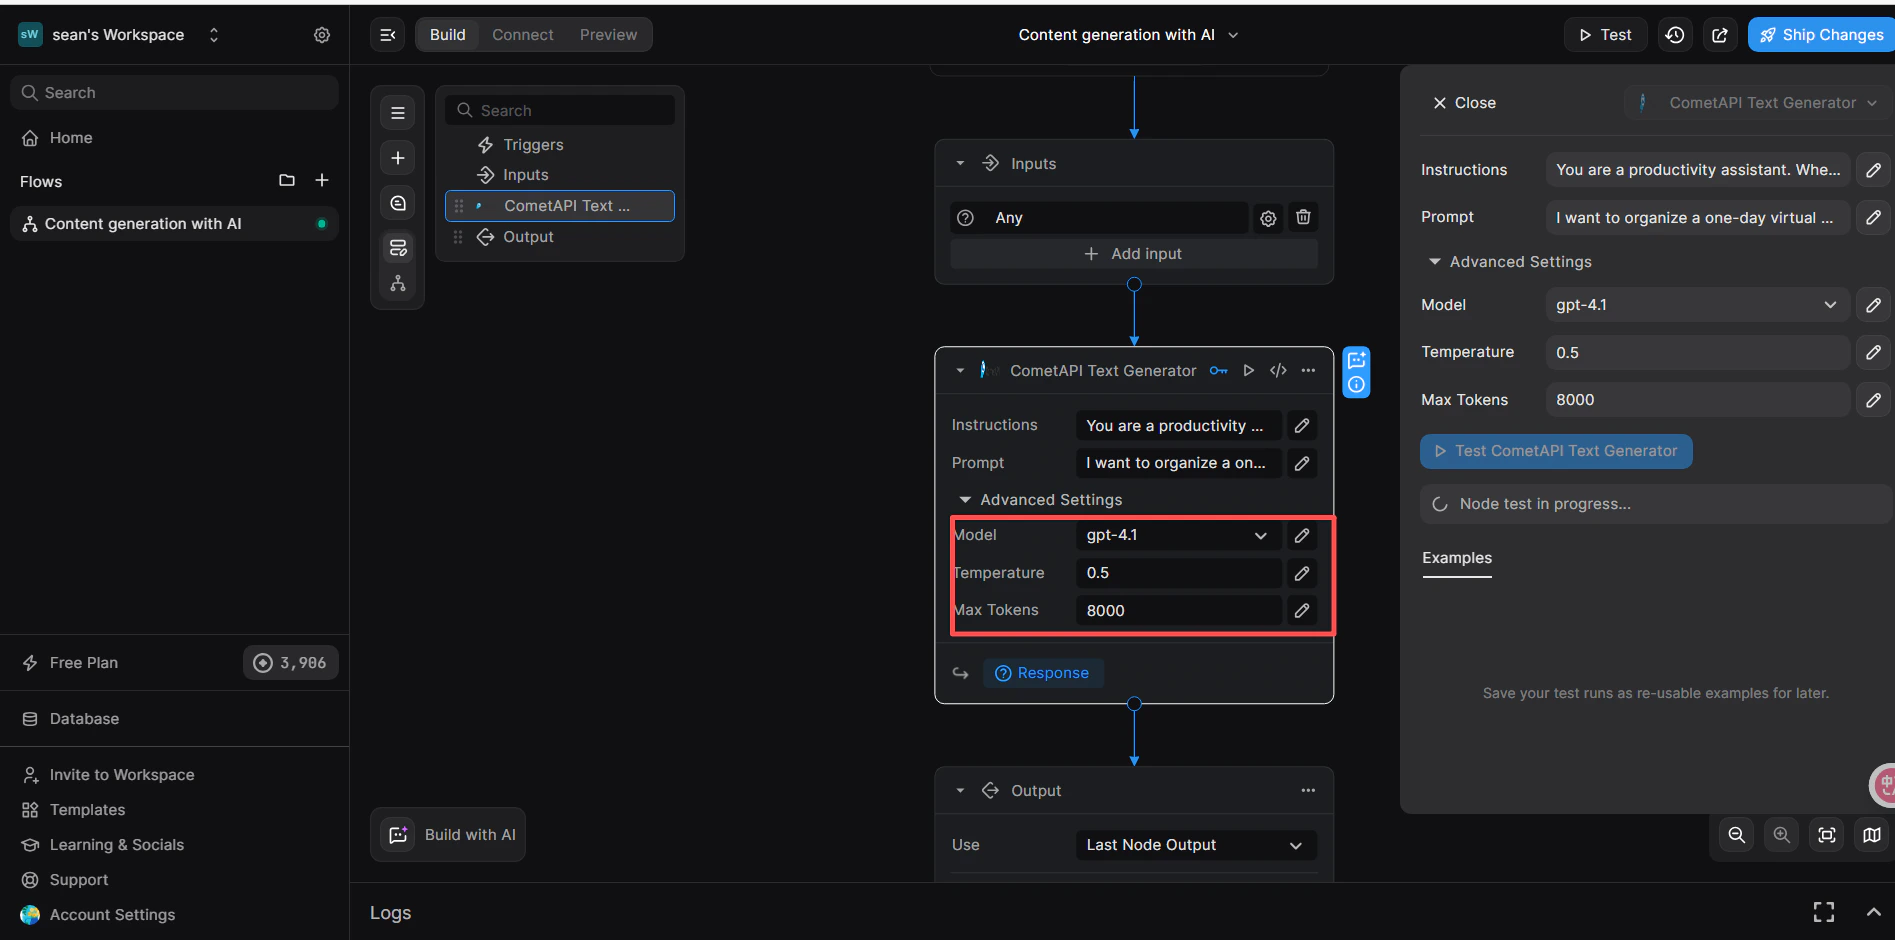
- Instructions(可選):設定 system role,例如
You are a productivity assistant. - Prompt:點擊
</>圖示,然後選擇 Trigger → Body → prompt 來映射傳入的 request body。 - Advanced → Model:輸入你想使用的目前 model ID。
7
新增 Return Response 節點並測試
- 在 CometAPI 節點下方,點擊 + Add a new step 並選擇 Return Response。
- 在 Body 欄位中,點擊
</>並從 CometAPI Text Generator 節點中選擇response變數。 - 點擊右上角的 Test,選擇 JSON 輸入格式,並送出:
- Result 面板中出現成功回應,即可確認工作流程正常運作。