メインコンテンツへスキップ

Documentation Index

Fetch the complete documentation index at: https://apidoc.cometapi.com/llms.txt

Use this file to discover all available pages before exploring further.

Zapier は CometAPI を数千のアプリに接続し、コードを書かずに AI 搭載ワークフローを自動化できます。

前提条件

1

CometAPI API key を取得する

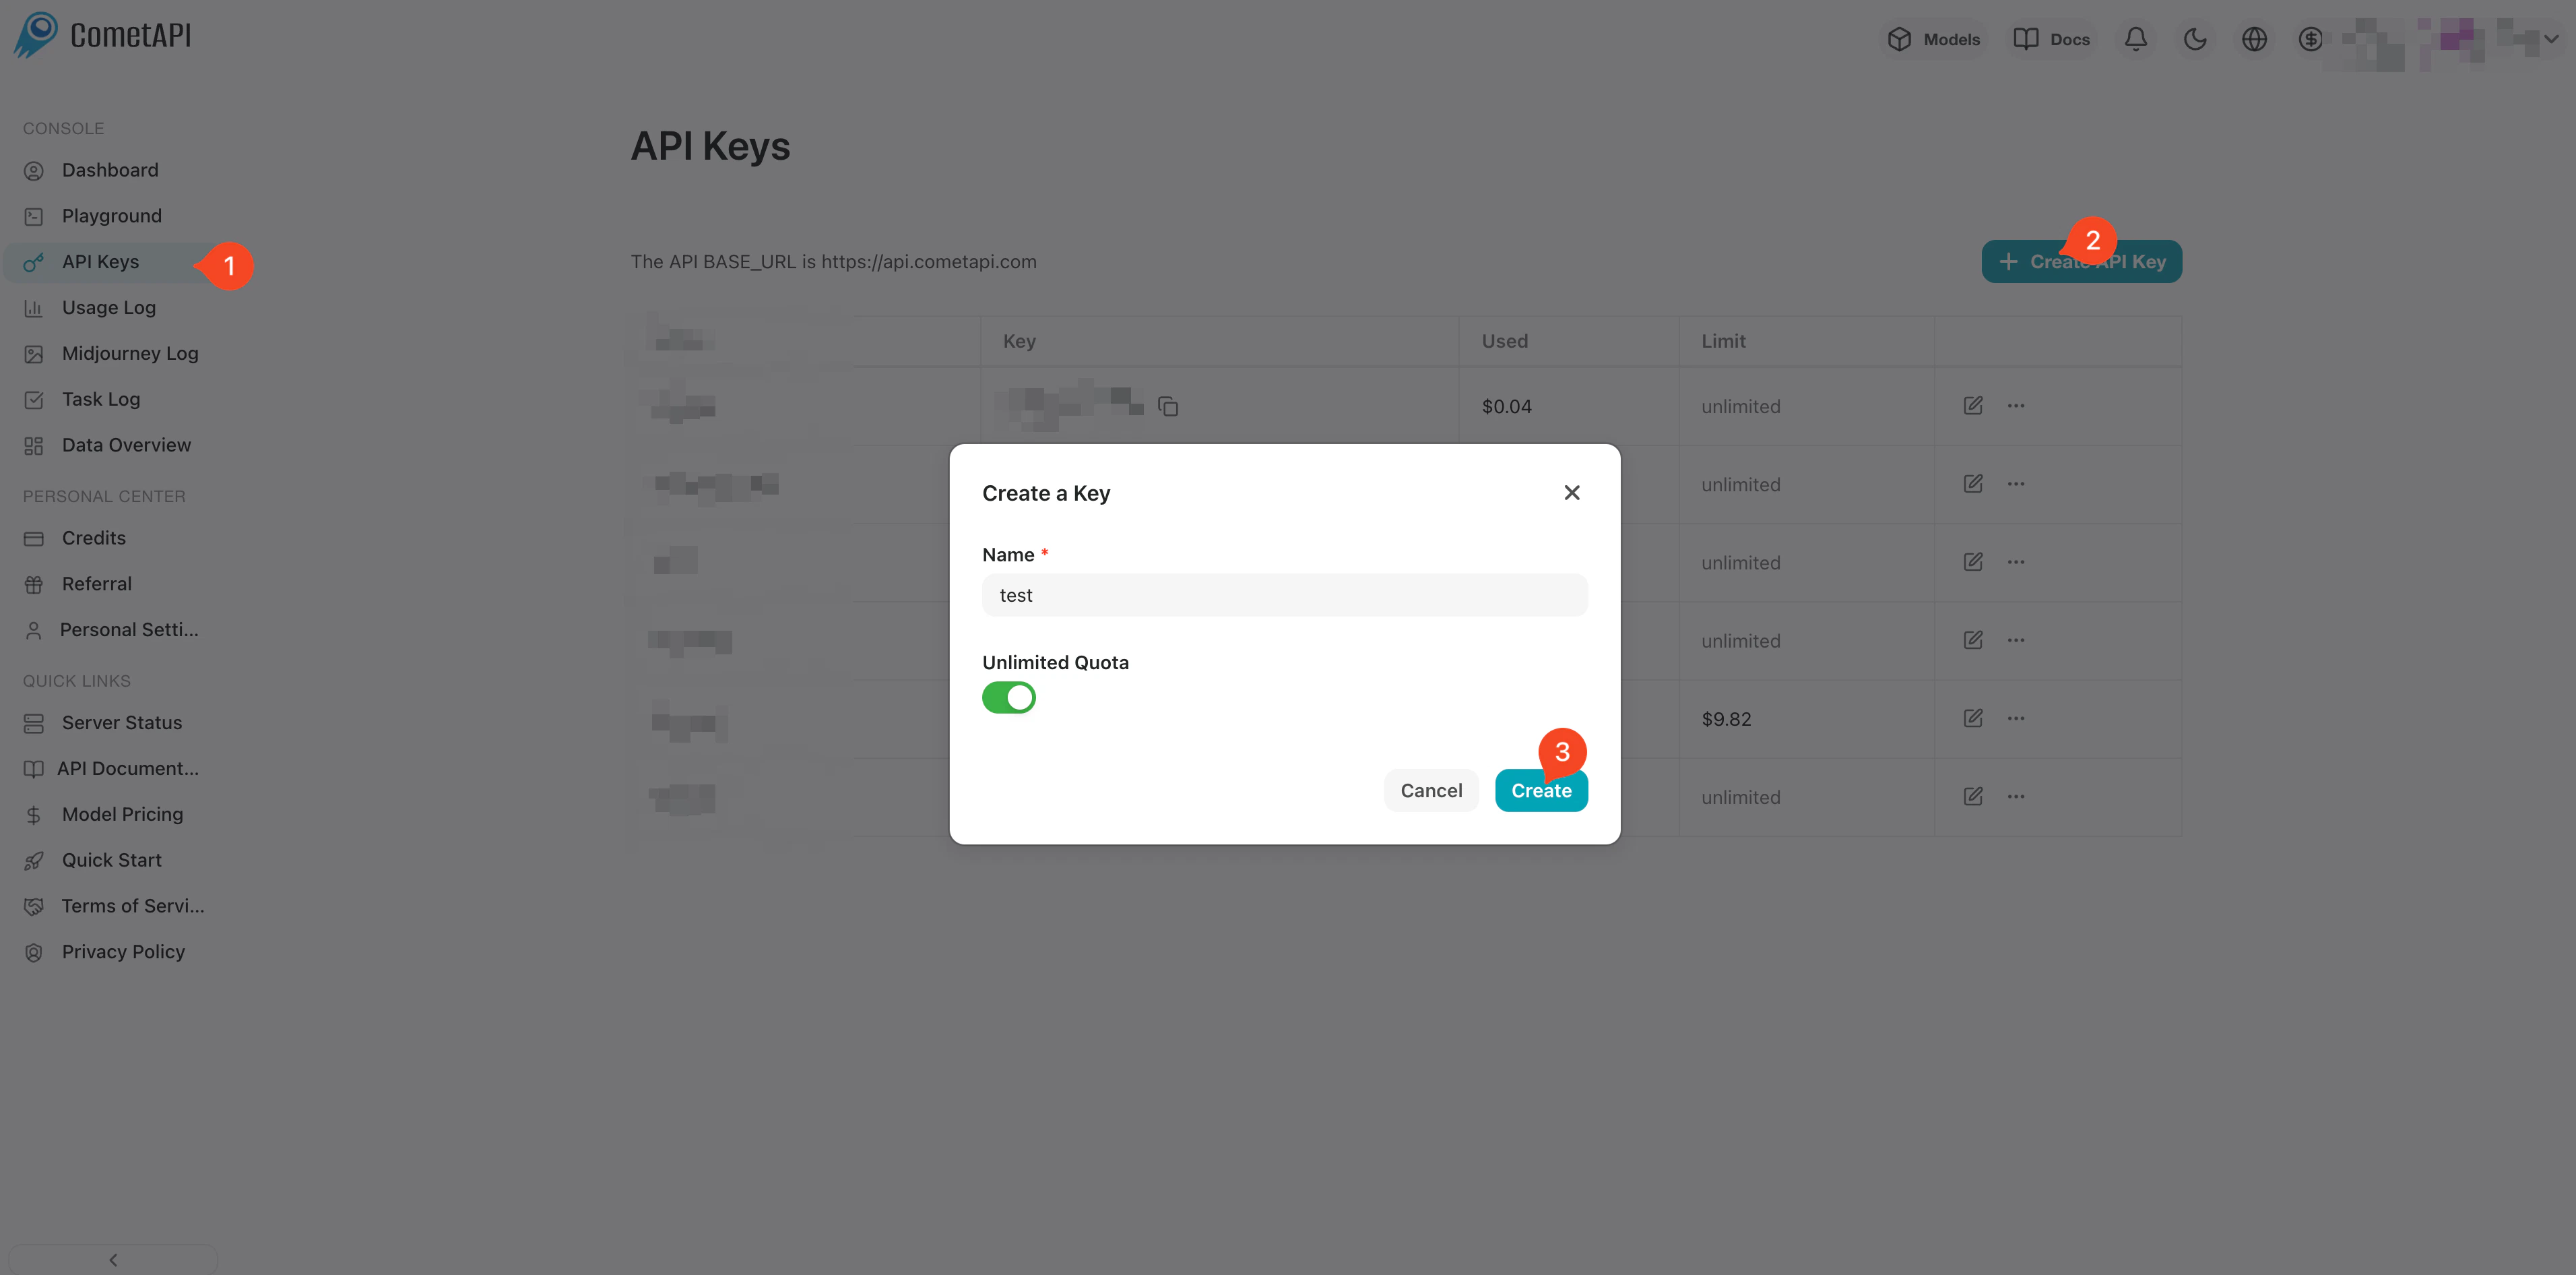
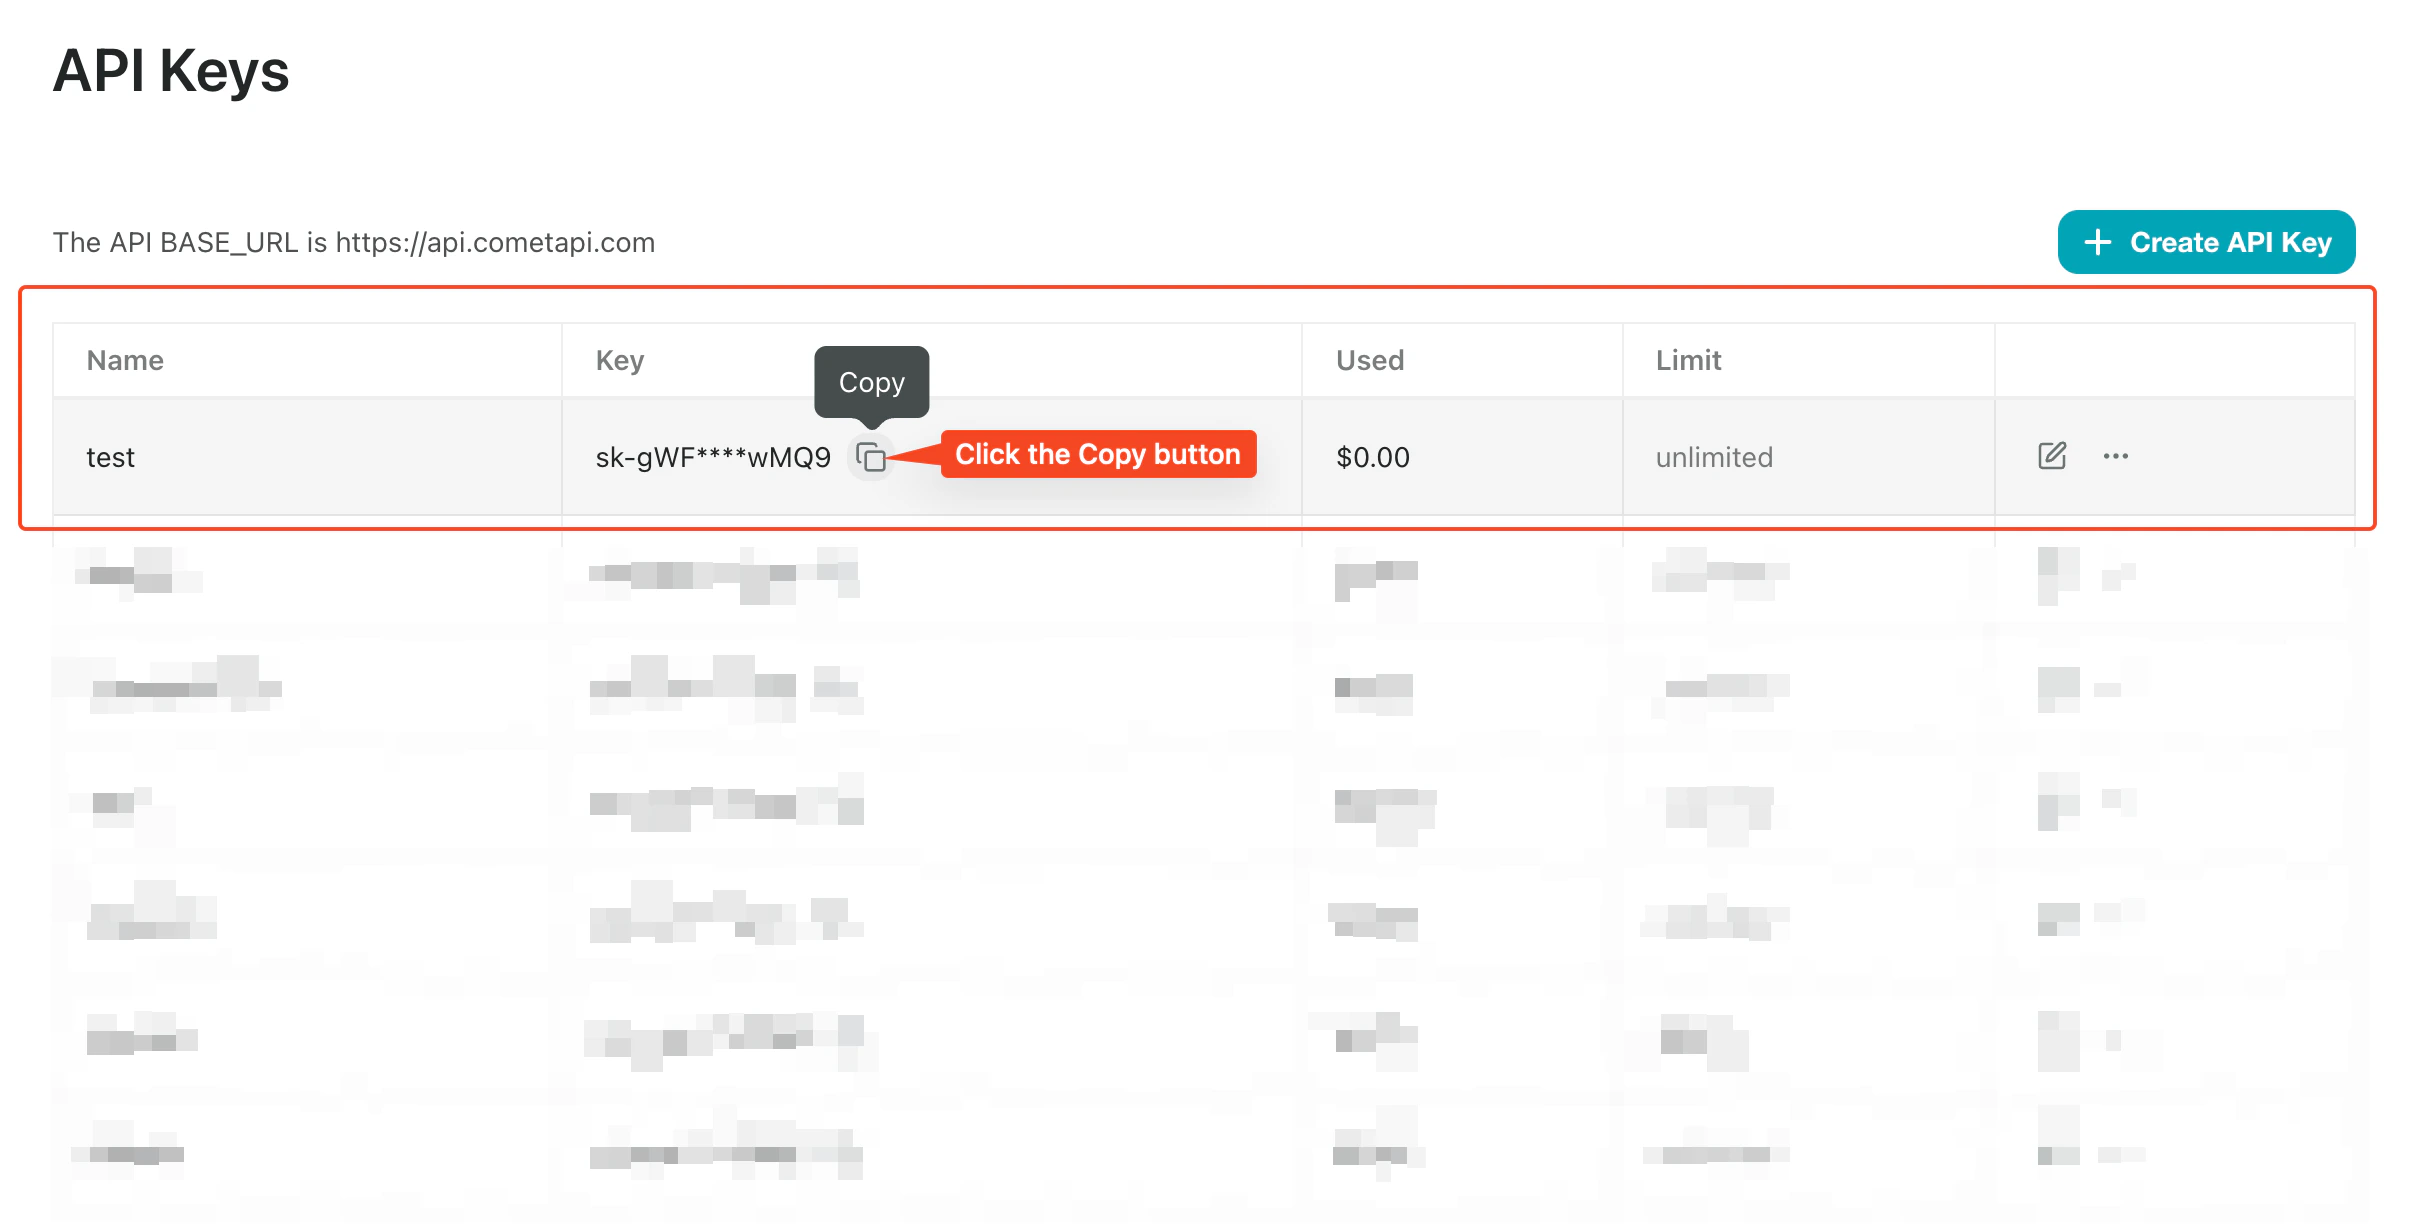
CometAPI コンソールにログインします。Add API Key をクリックし、CometAPI API key をコピーします。
Add API Key ボタンが表示された CometAPI ダッシュボード
base URL を含む CometAPI API key の詳細
2

Zap のステップとして CometAPI を追加する

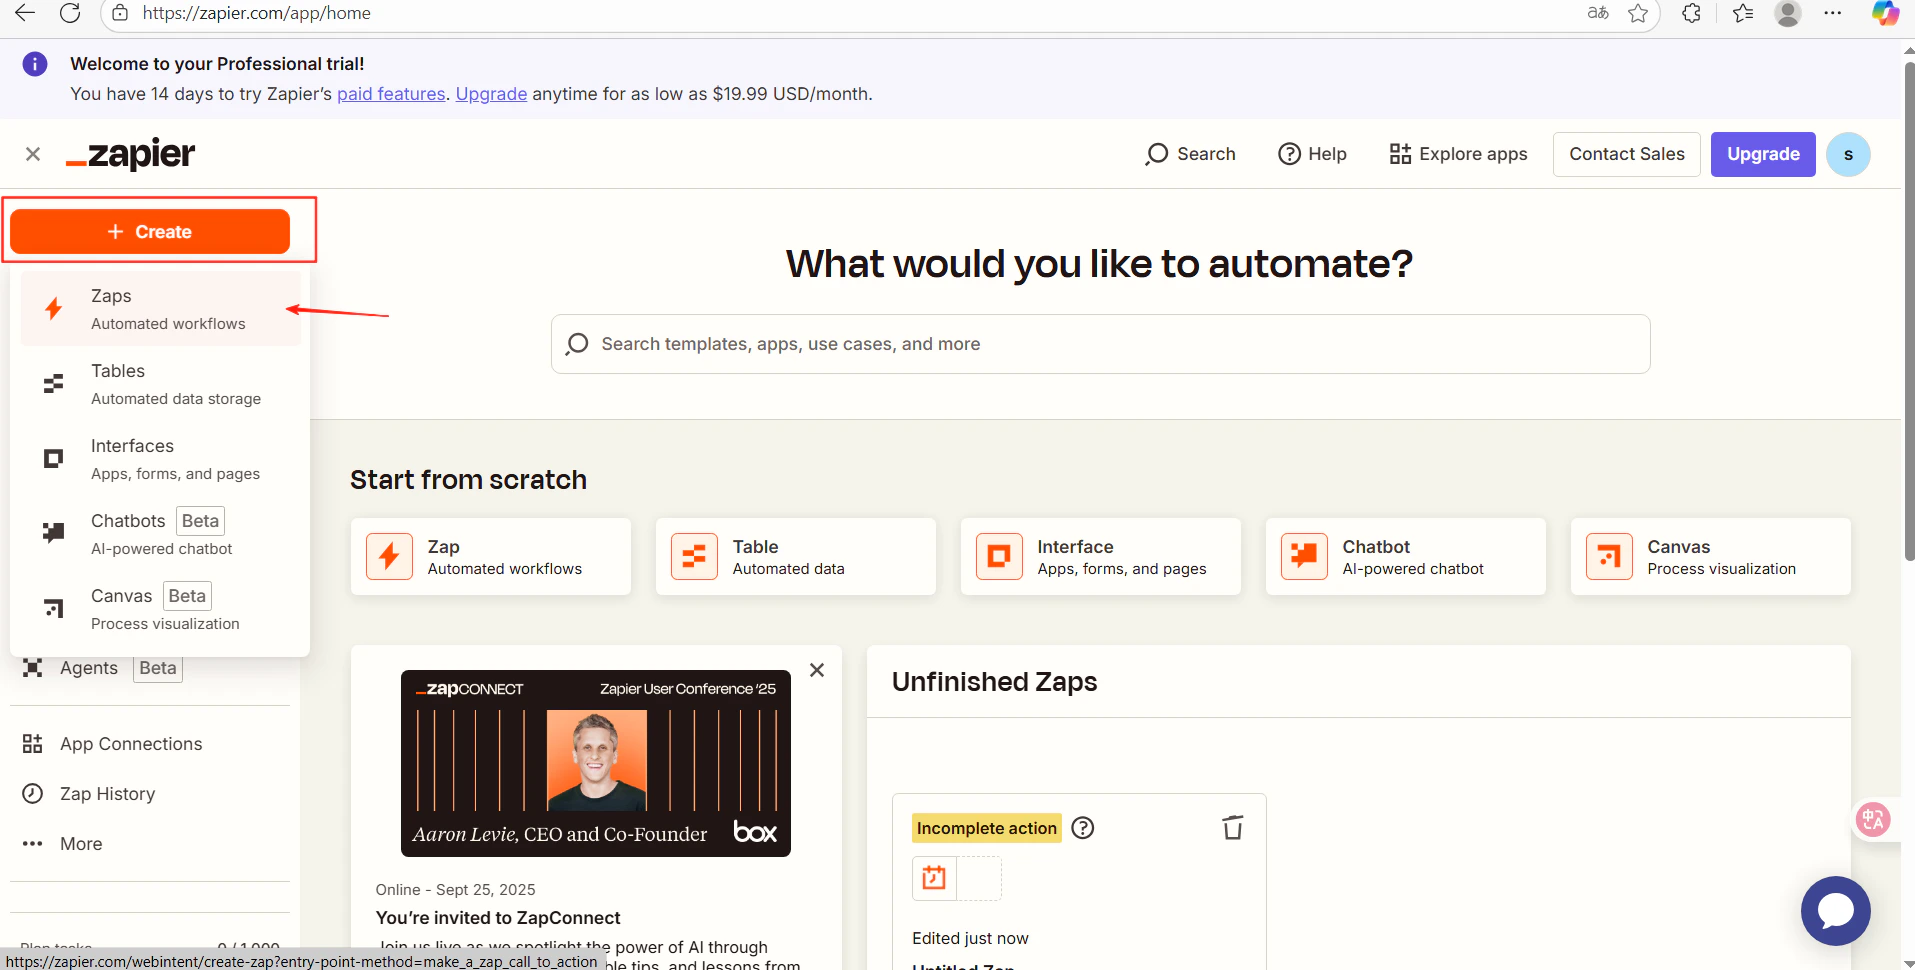
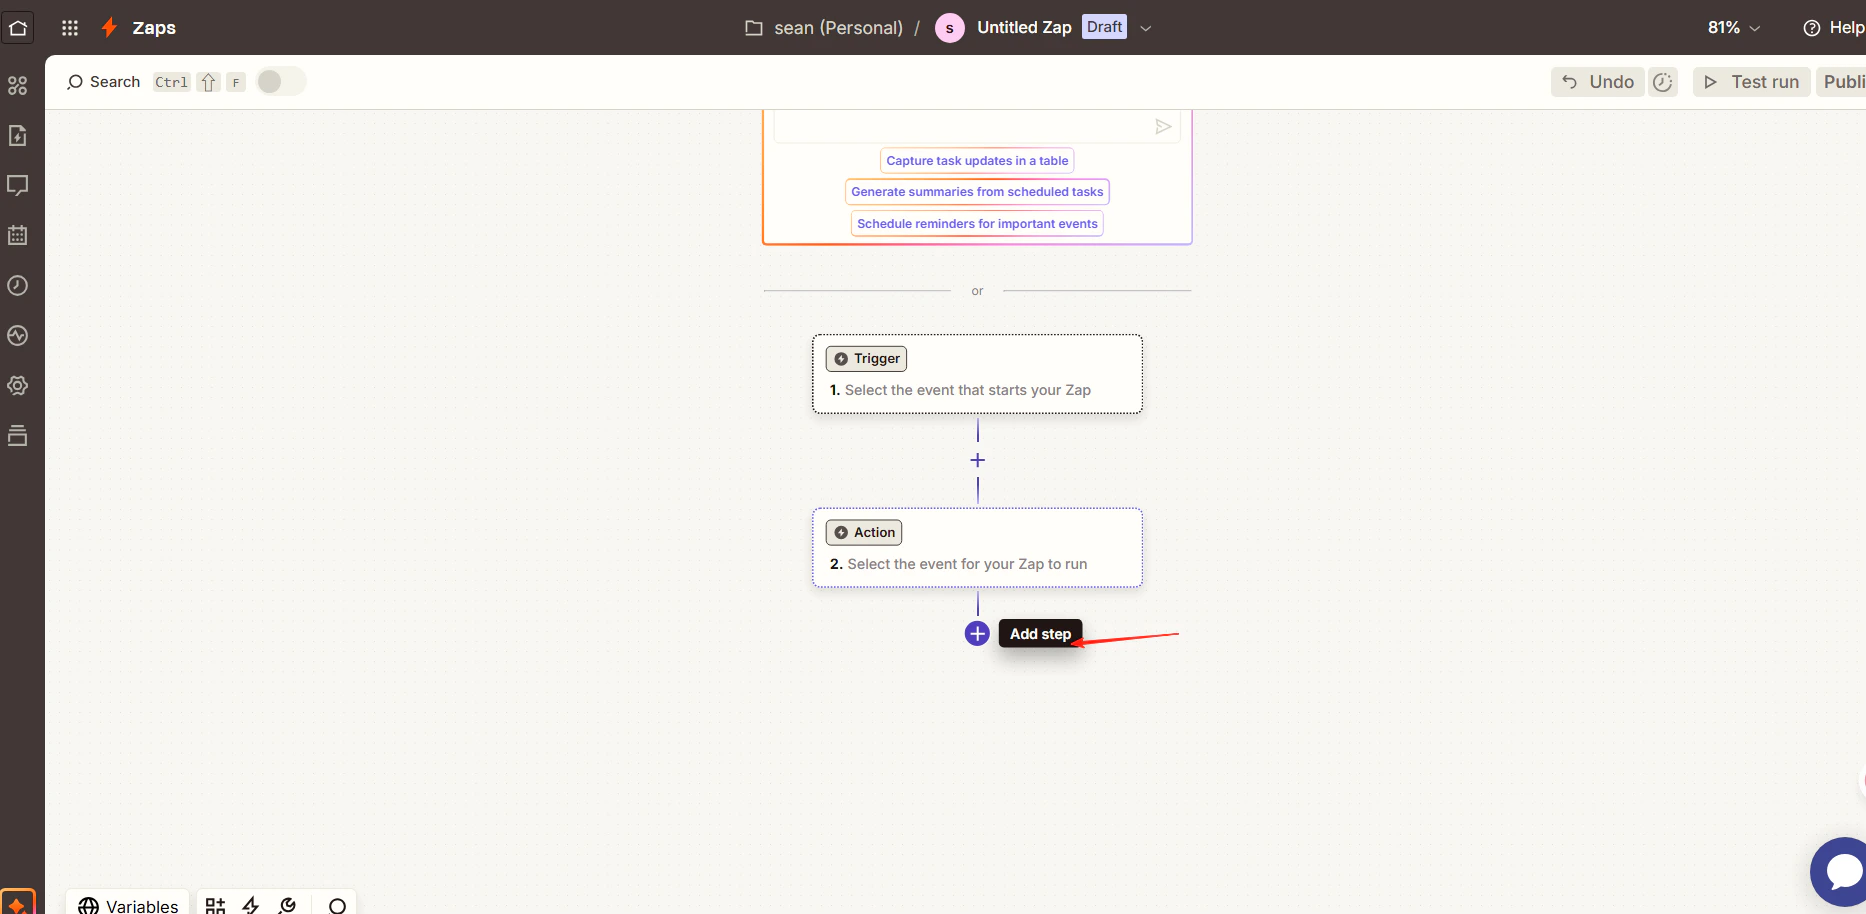
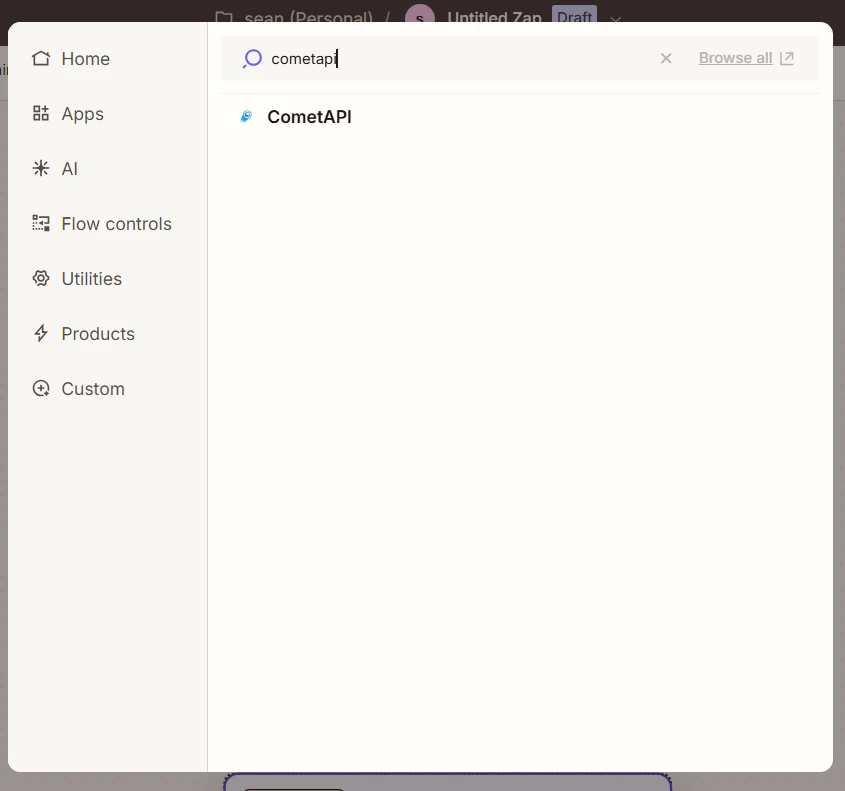
Zapier で新しい Zap を作成します。ワークフローエディターで Add Step をクリックし、CometAPI を検索します。
Add Step ボタンがある Zapier ワークフローエディター
CometAPI アプリが表示された Zapier の検索結果
CometAPI のアクション選択画面
3

アクションを設定してアカウントを接続する

  • Action Event: Generate AI Response を選択します
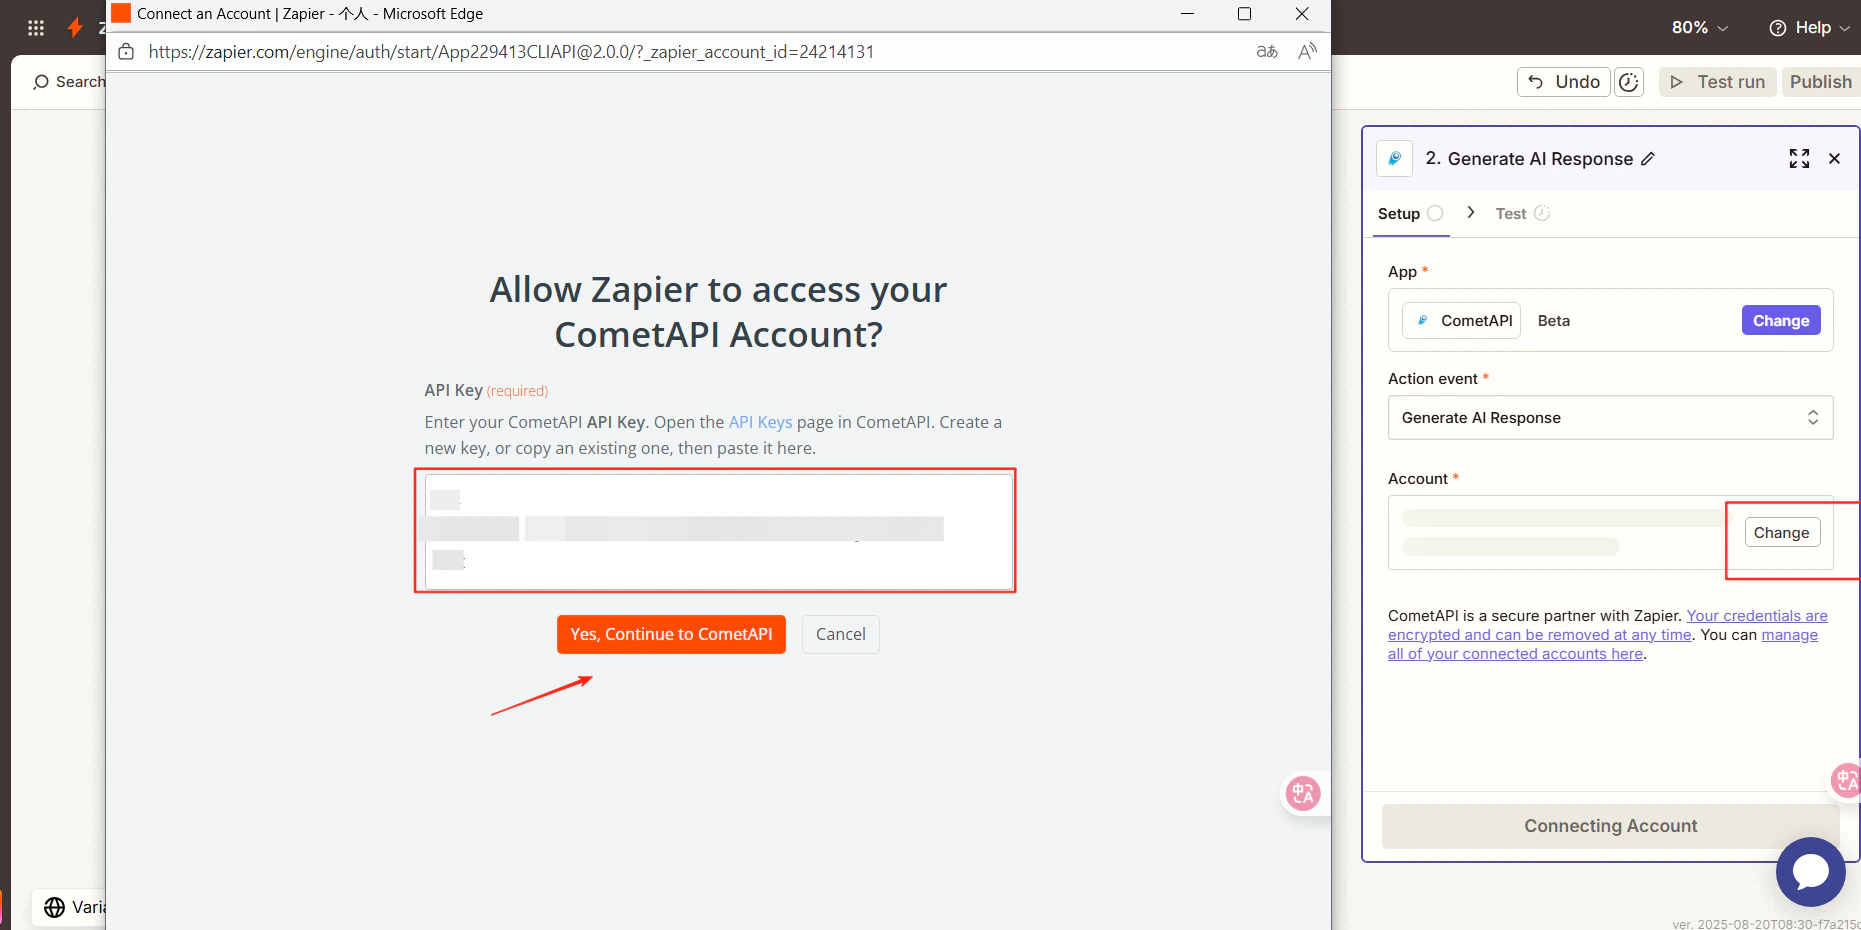
  • Account: Connect a new account をクリックし、CometAPI API key を貼り付けます
API key フィールドがある Zapier のアカウント接続ダイアログ
4

モデルを選択してテストする

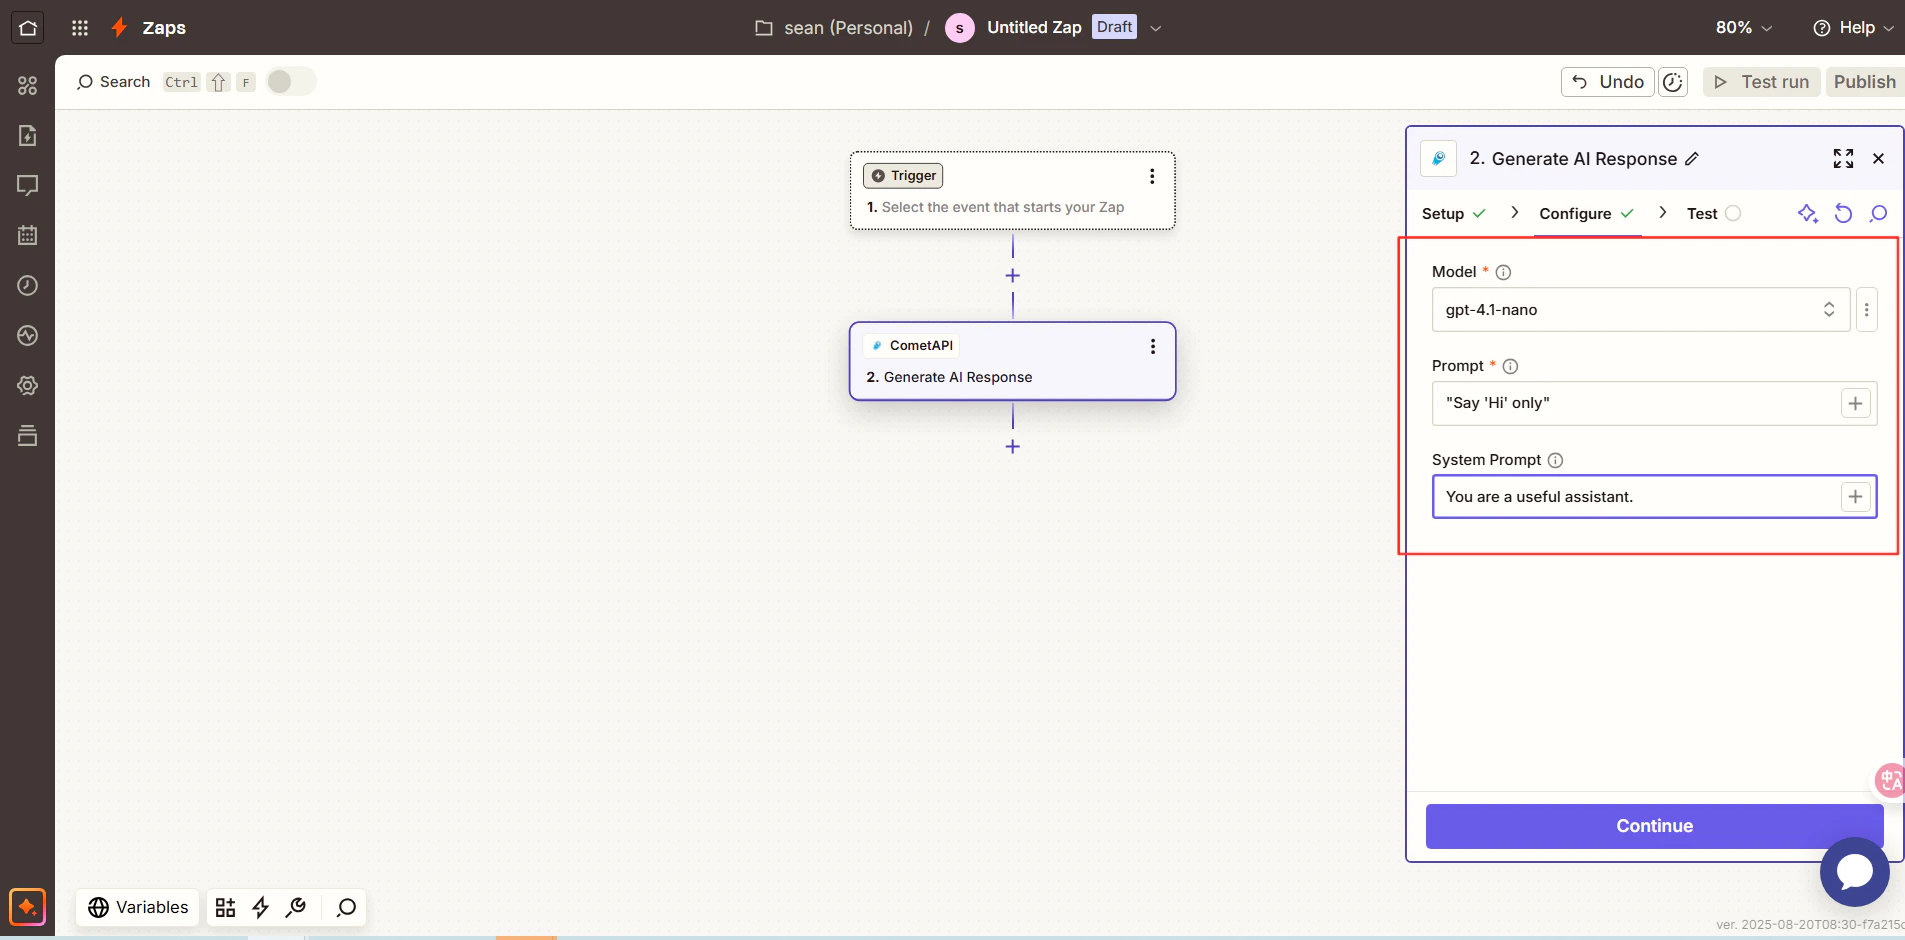
Continue をクリックし、使用したい current model を選択してから、もう一度 Continue をクリックし、Test Step を実行します。
Zapier のモデル選択ステップ
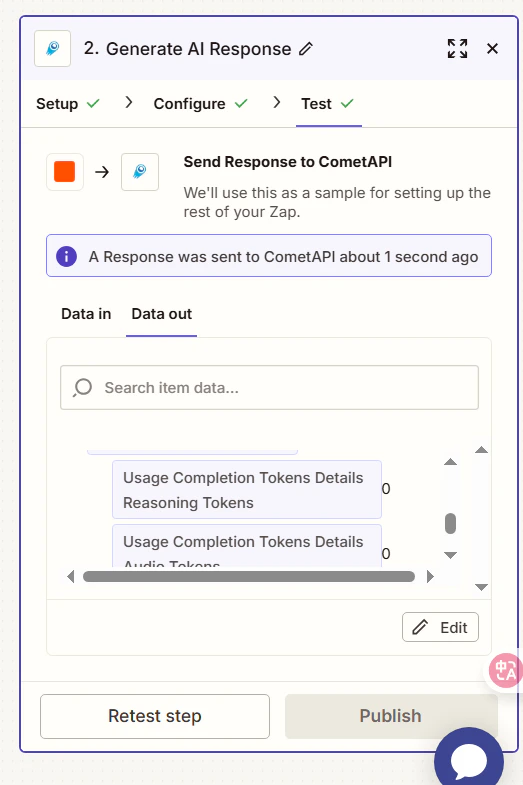
AI レスポンスの成功が表示された Zapier のテスト結果
テスト結果が成功すれば、連携は完了です。Publish をクリックして Zap を有効化します。呼び出しが失敗する場合は、API key を再確認するか、CometAPI サポートにお問い合わせください。
CometAPI は Zapier のネイティブアプリとして表示されるため、カスタム HTTP アクションは不要です。Gmail、Google Sheets、Slack、その他数千の Zapier 連携と組み合わせて利用できます。