

OpenClaw v2026.8.1 is also branded OpenClaw 2.0. The package does not use a
2.x version number. See the
OpenClaw 2.0 announcement
and the v2026.8.1 release notes.Prerequisites
- Node.js 22.22.3+, 24.15+, or 25.9+. Node 26 is recommended. Node 23 is not supported.
- A CometAPI account with an active API key from the dashboard.
- A model ID from the CometAPI Models page.
Installation and upgrades
- First installation
- Upgrade an installation
The official installer can install the CLI without starting onboarding.
This keeps model configuration as a separate step.If you manage Node.js and npm yourself, npm 11.16+ and npm 12 accept the
On npm 11.15 and earlier, omit Continue to Configure CometAPI. Do not run plain
onboarding first, because the guided flow does not expose every custom API
adapter.
- macOS / Linux / WSL2
- Windows PowerShell
The following command runs the official installer:
--allow-scripts option. The following command installs OpenClaw without
starting onboarding:--allow-scripts=openclaw because that npm
version does not recognize the option.Confirm that the installed CLI meets the minimum version for this guide:Configure CometAPI
Use classic onboarding
Classic onboarding is the preferred first-installation path for Chat Completions, Responses, and Anthropic Messages. The following command opens classic onboarding and installs the background service:
Enter the matching provider ID,
your-model-id, and your CometAPI API key when
prompted. The terminal wizard masks the API key input.
The classic Custom Provider menu does not include the Google Generative AI
adapter. To use that adapter, complete
Configure a provider with config commands,
set the primary model, and then run classic onboarding. Choose Keep existing
model config when the wizard presents that option.
Configure a provider with config commands
Use this path for the Google adapter or for controlled configuration changes. OpenClaw supports JSON5, so do not parse and rewriteopenclaw.json with a
strict JSON tool.
First, print the active config path and validate its content:
.env file. It does not trust a workspace .env file for provider API
keys. The global file is ~/.openclaw/.env, or
$OPENCLAW_STATE_DIR/.env when OPENCLAW_STATE_DIR is set.
If classic onboarding stored the API key, skip the following step. Otherwise,
use the tab for your operating system to store the API key without displaying
it.
- macOS / Linux / WSL2
- Windows PowerShell
The following commands update
COMETAPI_KEY atomically and reject an empty
value:config patch merges objects, but it replaces arrays. Merge the new model into
the provider’s model array before you write that array. This preserves model
metadata, custom headers, and other provider settings.
Choose one API format. Each patch uses an environment-backed SecretRef, changes
only the target config paths, and keeps other config sections intact.
- Chat Completions
- Responses
- Anthropic Messages
- Google Generative AI
- Provider ID:
cometapi-openai - OpenClaw adapter:
openai-completions - Base URL:
https://api.cometapi.com/v1 - Primary model reference:
cometapi-openai/your-model-id
cometapi.patch.json5 with this provider patch: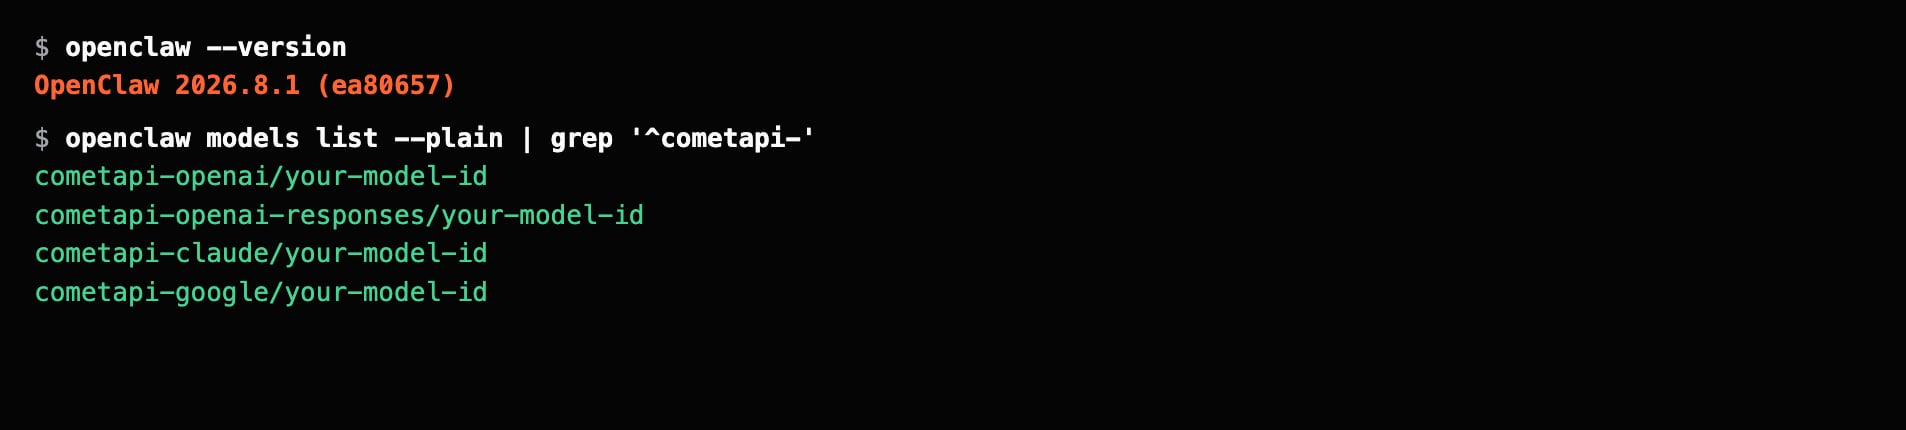
openclaw config set provides the same schema and
SecretRef checks. Use --strict-json, --merge, and --dry-run before the
write. The following alternative previews the Chat Completions provider:
--dry-run to save it. Do
not apply this example to a configured provider. The models array must include
the provider’s complete merged model list before a write.
Understand model metadata
The minimal patches declare a text-only model. Add optional metadata only when you have verified the model’s specifications:
Incorrect values can hide supported inputs, overstate the usable context, or
request an unsupported output size. Keep
your-model-id in reusable examples,
and use the CometAPI Models page to select a model ID.
Verify the complete setup
After the config or global.env file changes, restart the Gateway:
openclaw agent exec
command sends a real model request. Confirm that it returns OPENCLAW_OK
without an unresolved authentication, adapter, or model error. If OpenClaw
retries a request, record and inspect every attempt instead of treating the
final marker as single-attempt success.
Troubleshooting
The API key is missing
The API key is missing
Confirm that
COMETAPI_KEY is present in the process environment or the
global state .env file. Do not print the value into terminal output.After you correct the trusted key source, restart and check the Gateway:A provider ID has different settings
A provider ID has different settings
Do not overwrite a provider that has a different Use a different provider ID when both configurations are intentional. If
the difference is accidental, create a verified backup before you change
the target provider.
baseUrl, api, custom
headers, or model metadata. Inspect the target provider first:An update did not finish
An update did not finish
Inspect update state before you repair the installation:These commands preserve the state directory.
A code rollback is required
A code rollback is required
Reinstall a known package version while you keep the state directory. First,
preview the operation:If the preview is correct, run the same operation without Restore a state backup only when the installed code cannot read the state.
A state restore can discard sessions and configuration changes that were
created after the backup.
--dry-run: